Mountain-scape
Mountain-scape
This can be leveled up or down to your skill set. Representing the beautiful mountains surrounding you in Vail, create sunsets, sunrises, snowscapes, or even a bold color-block scene reminiscent of a national parks poster (as shown here).
High-level steps:
Start off by choosing your sky. Create a glowing red sunrise or sunset… maybe an icy clear blue sky… or go crazy with an aurora borealis.
Next, choose your landscape, with the objects in the foreground being the darkest. Mountains and aspen trees are favorites.
Top it off with any additional details, such as snow glistening, a reflection in water, stars, moon/sun, or christmas lights in the trees.
See below from some inspiration I pulled from the Google images 👇
Step 1: Set the Scene 🌄
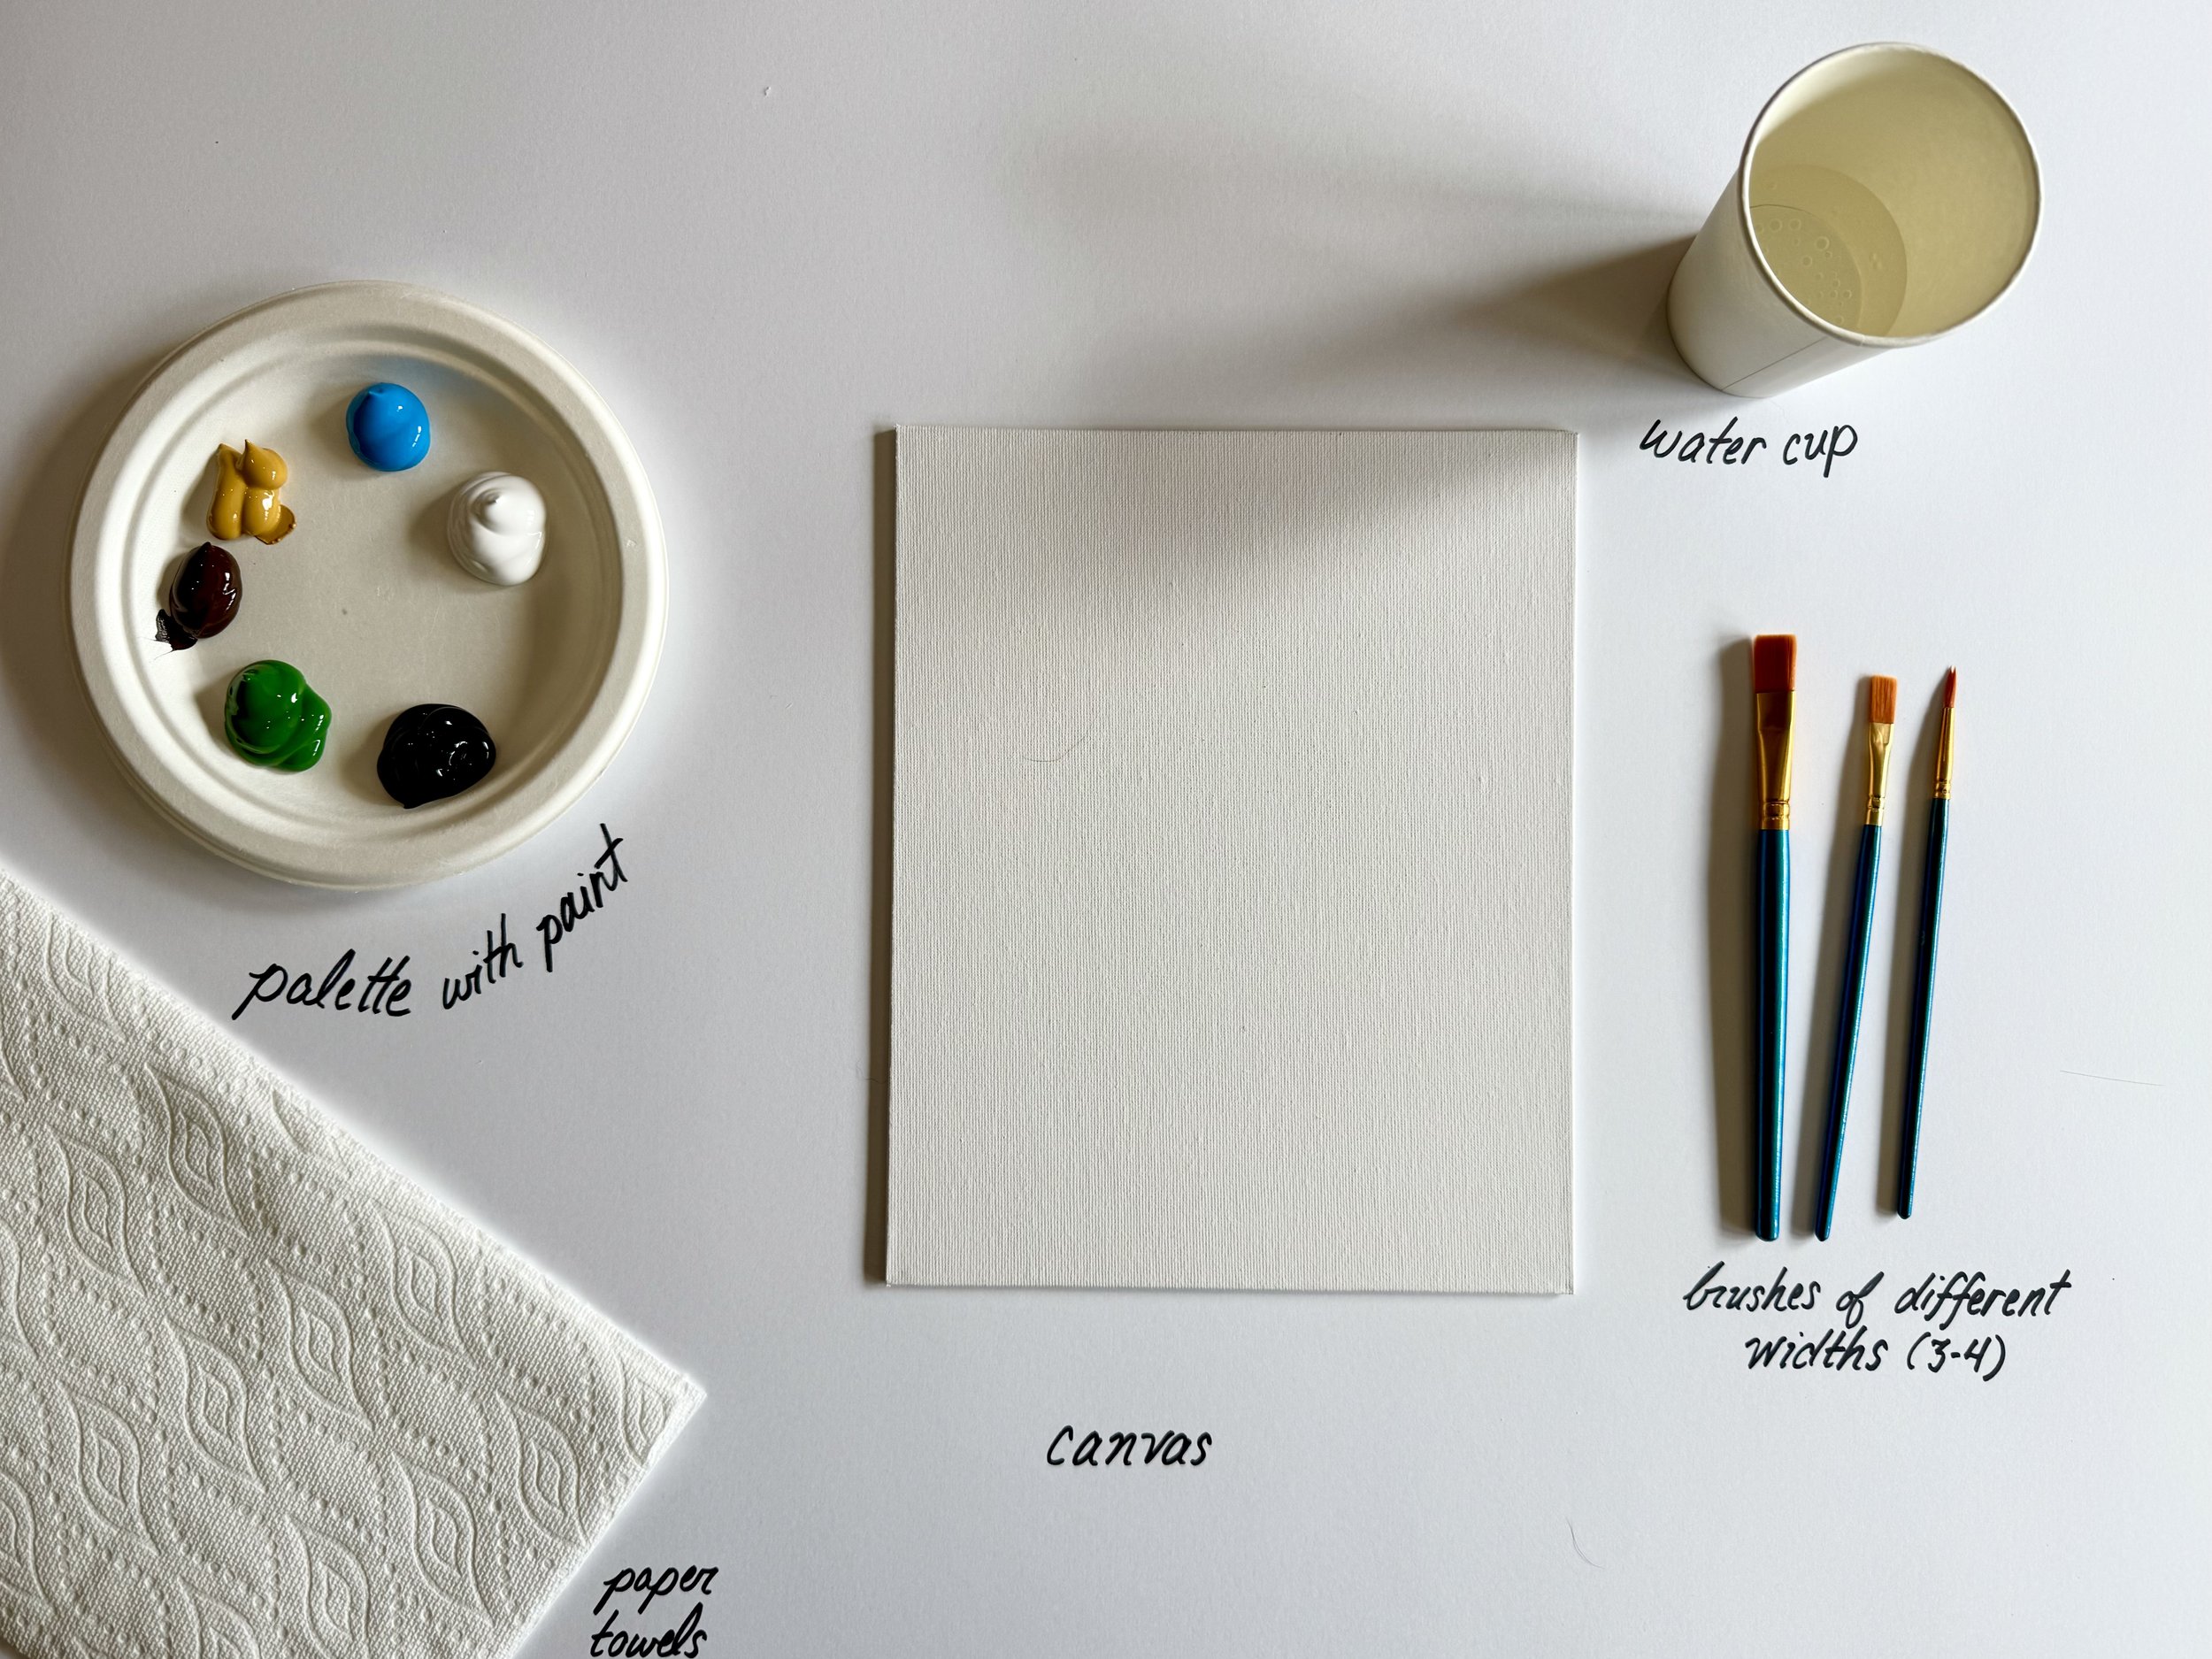
Get your canvas ready and set it up in front of you! Ensure your colors, brushes, and water cup are within easy reach.
What You'll Need:
8" x 10" canvas
Primary color paints (blue, red, yellow, black, white, green)
Paintbrushes: Flat brush (1-inch) and fine tip brush
Palette for mixing colors
Water cup for rinsing brushes
Paper towels or cloth for clean-up
Your creative spirit!
Step 2: Choose Your Sky Color 🌅
Start by deciding what time of day your mountain-scape will represent. Will it be a glowing sunrise, a sunset, a clear blue sky, or something mystical like an aurora borealis?
Ideas: Warm oranges and reds for a sunset, cool blues for a clear sky, or vibrant greens and blues for an aurora.
Using your flat brush, apply your chosen sky color evenly across the top half of the canvas. Feel free to blend in shades for a gradient effect!
Note: The mountain air is very dry, so you’ll have to work fast! For easier blending, you might even want to add water from yout water cup onto your brush.
Step 3: Create Your Landscape 🌲
Next, let’s paint your mountains! Choose the shape and color of your mountains; darker shades should be in the foreground.
Mountains: Using a mix of blue, black, and a bit of white for highlights, use your flat brush to create the shapes of the mountains. Paint from the bottom upward, making the peaks jagged and varied.
Foreground Elements: If you’d like to include aspen trees or other foreground objects, use a dark green or black. Paint these elements with the fine tip brush, making them darker than the mountains to add depth.
Tips:
For the idea of depth, have your mountains get light to dark or dark to light.
I recommend you utilizie the rule of thirds for your composition. This helps the layout look more visually appealing (it’s a science thing, I swear, and yes, it’s weird that it works).
Step 4: Add Details to Your Landscape 🌟
Now it’s time to enhance your mountain-scape! Think about what additional elements you'd like to add:
Stars or Moon: Use a fine tip brush with white paint to add stars or a moon in the sky.
Snow Caps: For snowy mountain peaks, mix white with a little blue and paint the tips of the mountains.
Reflections: If you want a water element, paint a simple reflection using horizontal strokes of the colors from the sky and mountains.
Step 5: Final Touches ✨
Step back and review your painting! Consider adding small details, like glistening snow or a few clouds.
Tip: Use a fine tip brush to paint tiny details, ensuring they pop against the larger elements.
Remember:
Art is all about self-expression and having fun! Don’t worry about perfection; every piece is unique—just like you!


