Skiers
Abstract Skiers on Slope
For the winter lover who wants to break out of the stereotypical “mountain painting” or souvenir look. This look has gone a bit viral - and for good reason.
A really fun style to paint that allows you to play with color and not feel like you need to be “perfect”.
The background is easy, but you have to have a bit of patience and creativity to create your skiers, which increases the difficulty.
High-level Steps
The background is a fun monochrome splashing of color, like how this blue is.
Then we use large, messy strokes of white to create the “slope” texture.
Last but not least, create fun scenes showing the crowd at the slope! Use your imagination here!
See below for some inspiration I pulled from Google images 👇
Step 1: Set the Scene 🌄
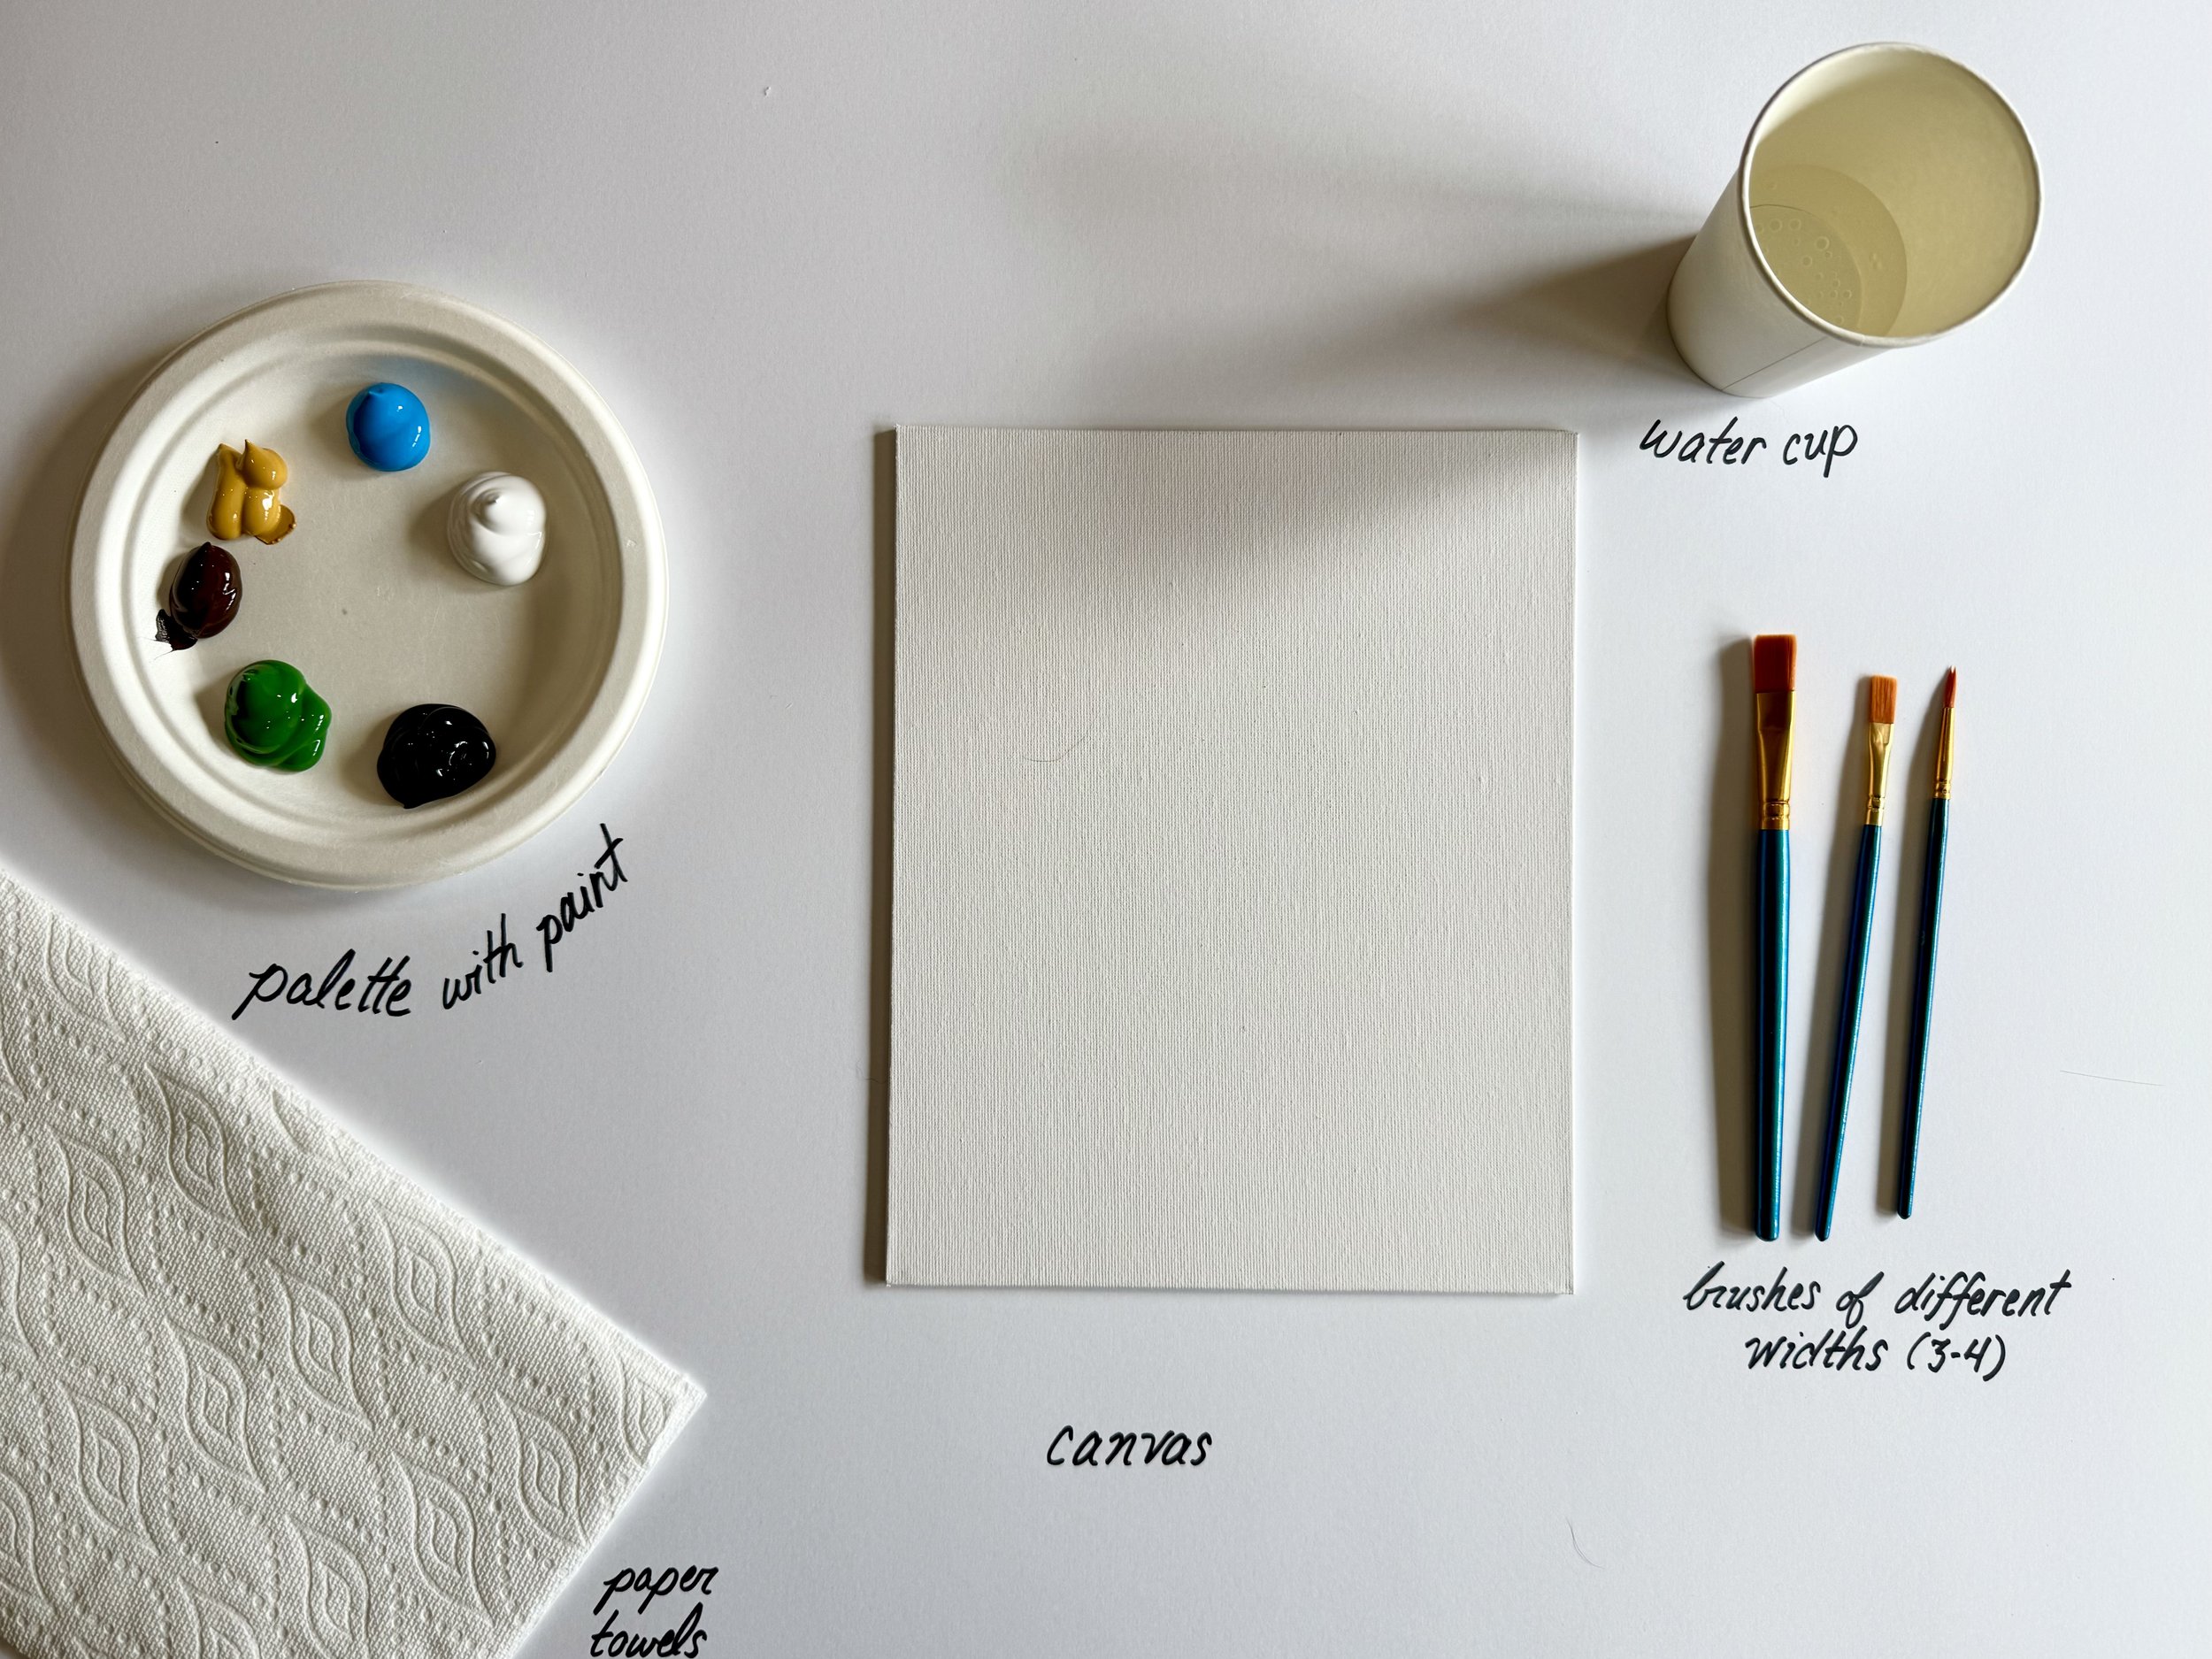
Grab your canvas and set it up in front of you! Ensure your colors, brushes, and water cup are within reach.
What You'll Need:
8" x 10" canvas
Primary color paints (blue, white, red, yellow, green, black)
Paintbrushes: Flat brush (1-inch) and fine tip brush
Palette for mixing colors
Water cup for rinsing brushes
Paper towels or cloth for clean-up
Your creative spirit!
Step 2: Brainstorm Your Ski Slope Design 💡
Think about how you want your ski slope to look. Consider the following:
Do you want a gentle slope or a steep one?
What colors do you envision for the slope and the background?
Would you like to add skiers, trees, or other fun elements?
Jot down your ideas and let your imagination run wild! See the examples below to help brainstorm.
Step 3: Create the Background 🎨
Start by painting the background of your canvas to set the mood. You can use a bright blue for a clear sky or a darker blue for an evening scene.
Sky: Use your flat brush to apply the blue paint evenly across the top two-thirds of your canvas. You can mix in a bit of white for texture and depth.
Blend Colors: Feel free to blend in some lighter shades to create clouds or variations in the sky.
Tip: Be messy with this! The more abstract, the cooler it will look. I chose to go with blues because when I painted the white slope, the blues look icy underneath and can add depth without any additional work.
Step 4: Paint the Ski Slope 🏔️
Now let’s create your ski slope! Using a flat brush, apply white paint in a sweeping motion from the top to the bottom of the canvas.
Make it a wavy or curved line to give it a dynamic feel. The slope should take up about the middle third of your canvas.
Tip: Grab a lot of white on your brush and make 2-4 inch sized strokes. Don’t smooth out the paint, the extra paint blobs make it look cooler and like jumps.
Step 5: Add Texture to the Slope ❄️
With the white paint still on your brush, add texture to the slope by using quick, short strokes to create ridges and grooves.
Tip: You can also mix in a little blue to add shadows to one side of the slope for dimension.
This is if you feel like you need to add a bit more after Step 4.
Step 6: Create the Skiers 🎿
Now it’s time to add some skiers to your slope! Using a fine tip brush, paint tiny figures zigzagging down the slope.
Colors: Use red, green, yellow, and black to paint your skiers. Keep them small and simple; they don’t need to be detailed!
These don’t need to be detailed! Think a top - maybe a color like a helmet on the head, coat, pants, and two sticks! To be fun, you could even just have sticks hanging out of the snow.
Step 7: Final Touches 🌟
Step back and look at your painting! If you feel inspired, add additional elements like snowflakes or trees in the background.
Tip: Use a fine tip brush with white paint to sprinkle snowflakes or dots for a whimsical touch.
Remember:
Art is all about self-expression and having fun! Don’t worry about perfection; every piece is unique—just like you!


