Mountain Town Sign
Mountain Town Sign
For the winter lover who wants to break out of the stereotypical “mountain painting” or souvenir look.
Great choice for beginners who want to explicitly commemorate where they are for this trip. Choose local towns and even towns that mean a lot to the individuals to personalize it even more.
They are able to paint abstract mountain backgrounds then color-block bold wooden signs that are meant to look worn.
High-level Steps
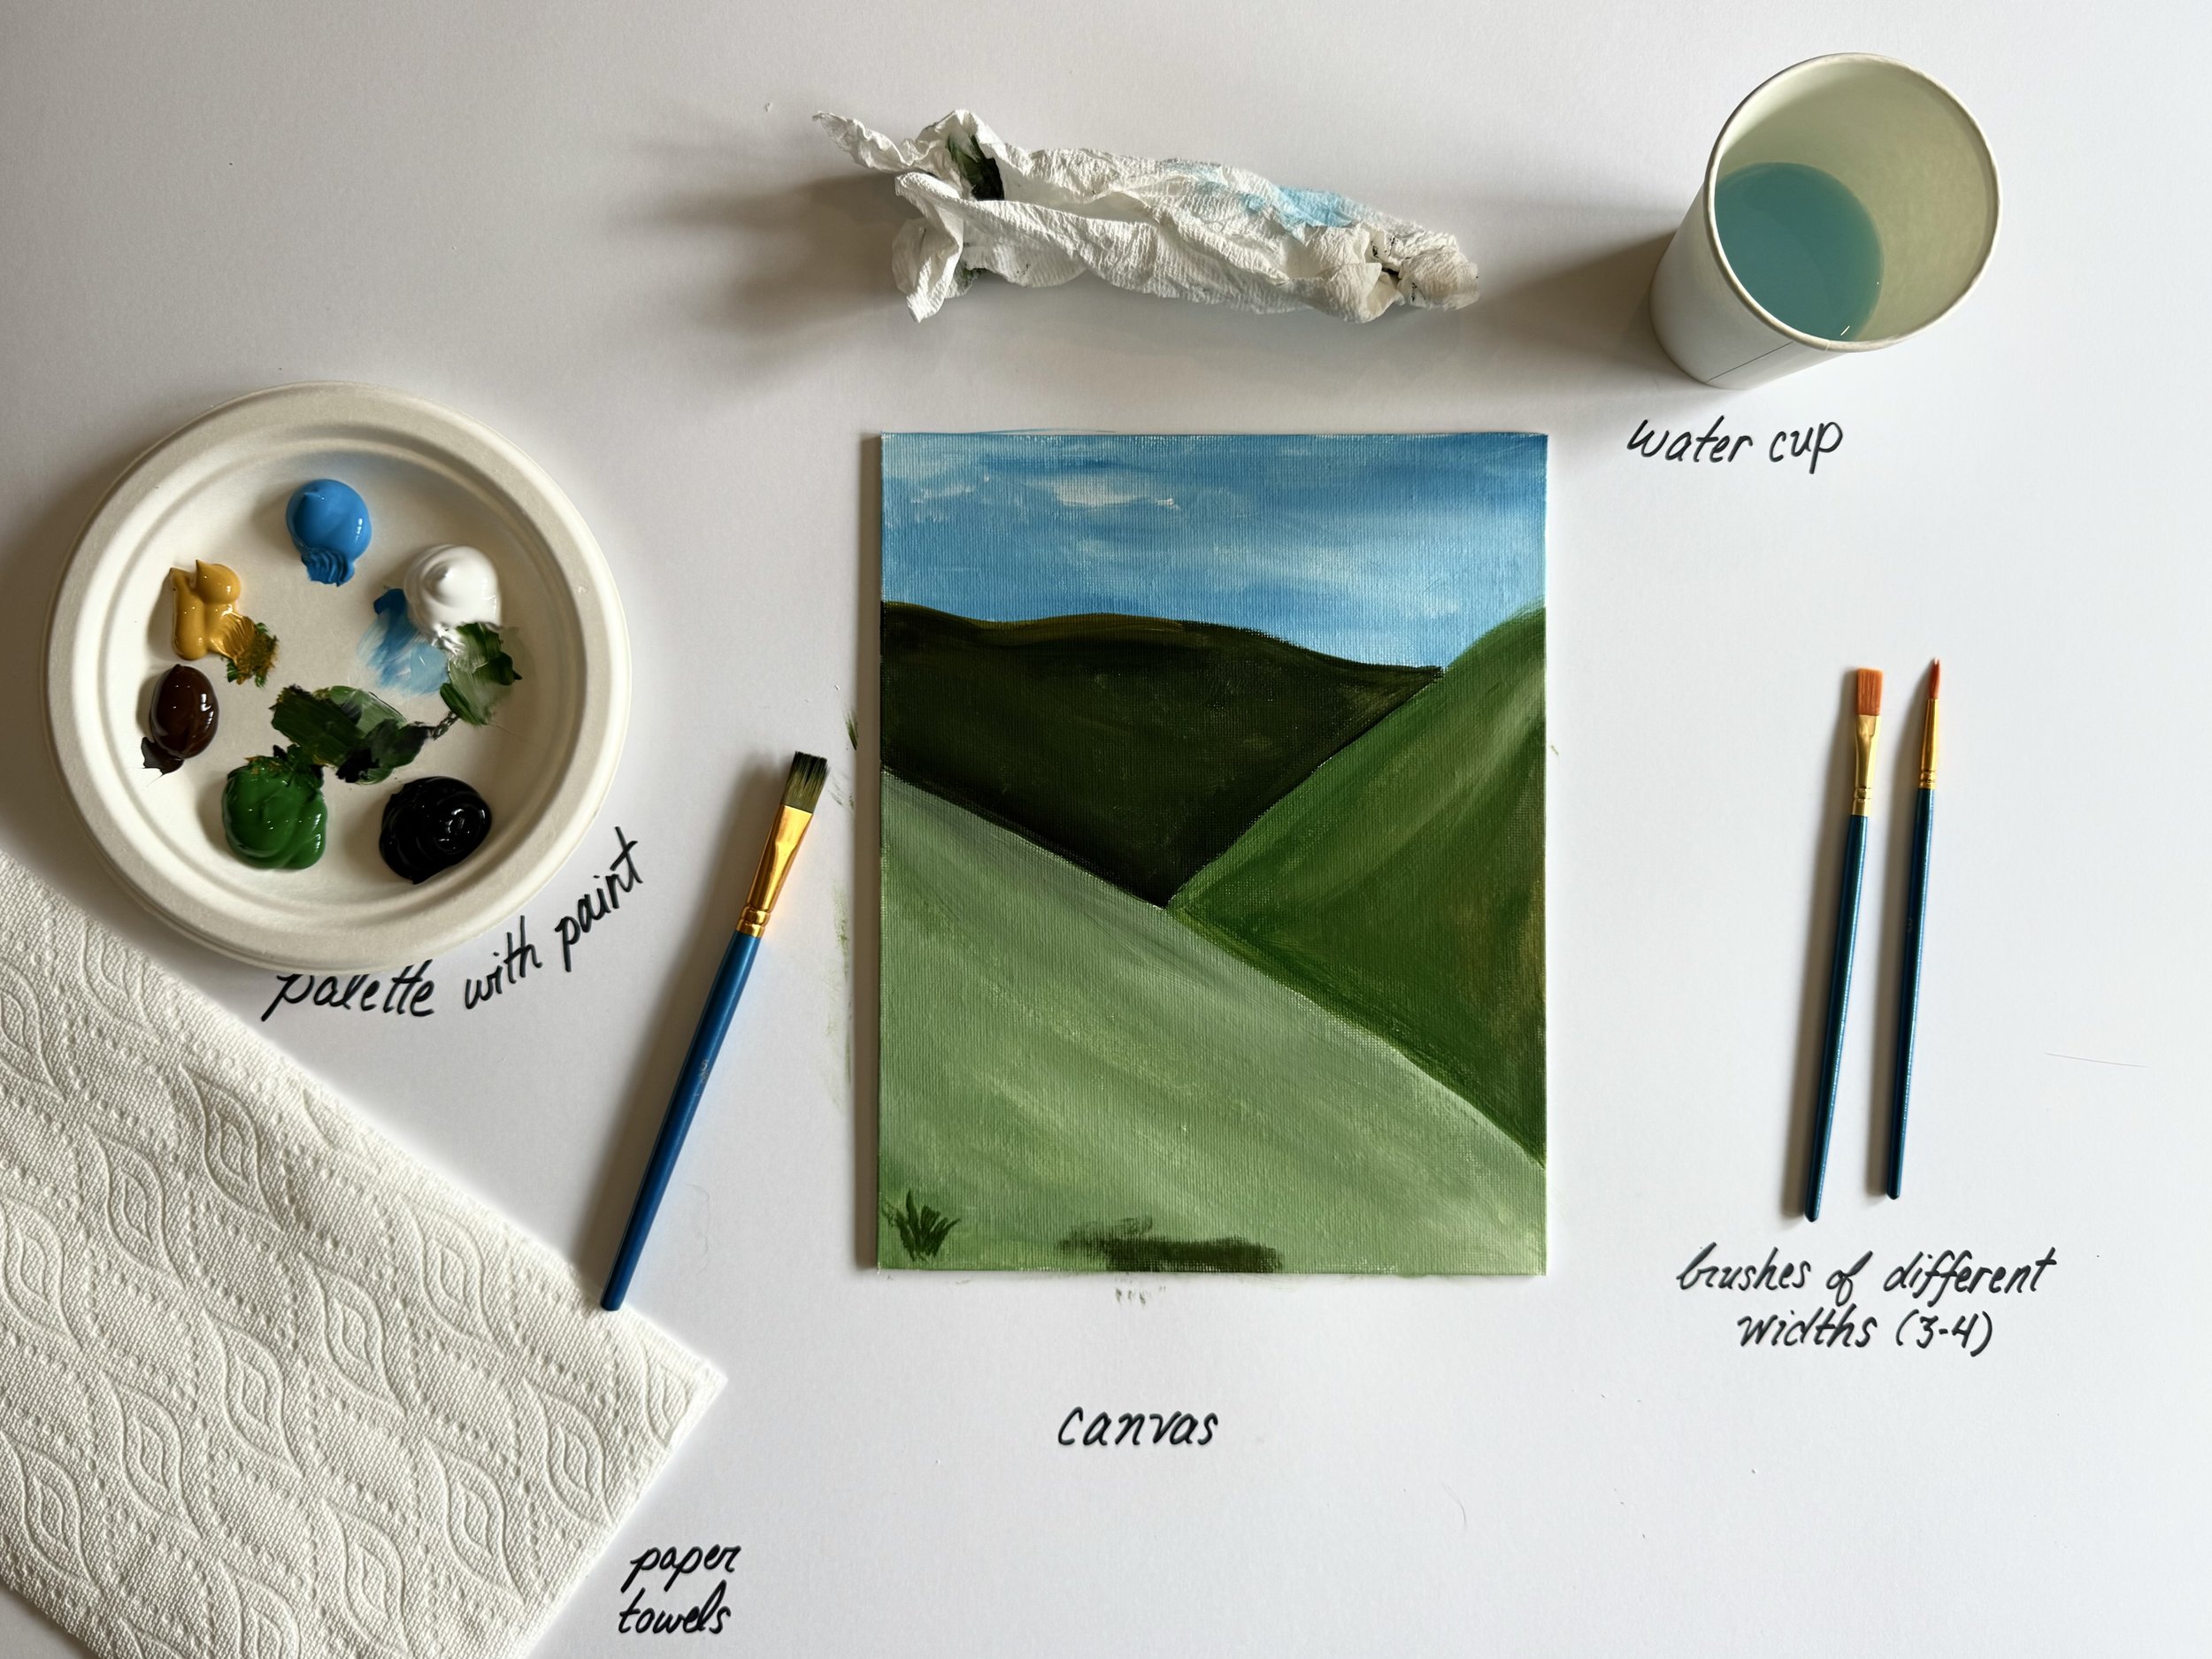
Paint the background without too much detail. The sign will be the primary subject of this painting so don’t worry about this looking too realistic or perfect.
Wooden sign with large blocks of brown. You do on vertical stripe, then a few horizontal ones. Be messy - this is an old wooden sign!
Last but not least, write in your “destinations”!
Add additional details to make the sign look more scratchy, the letters “indented”, or add some background elements.
Step 1: Get Materials
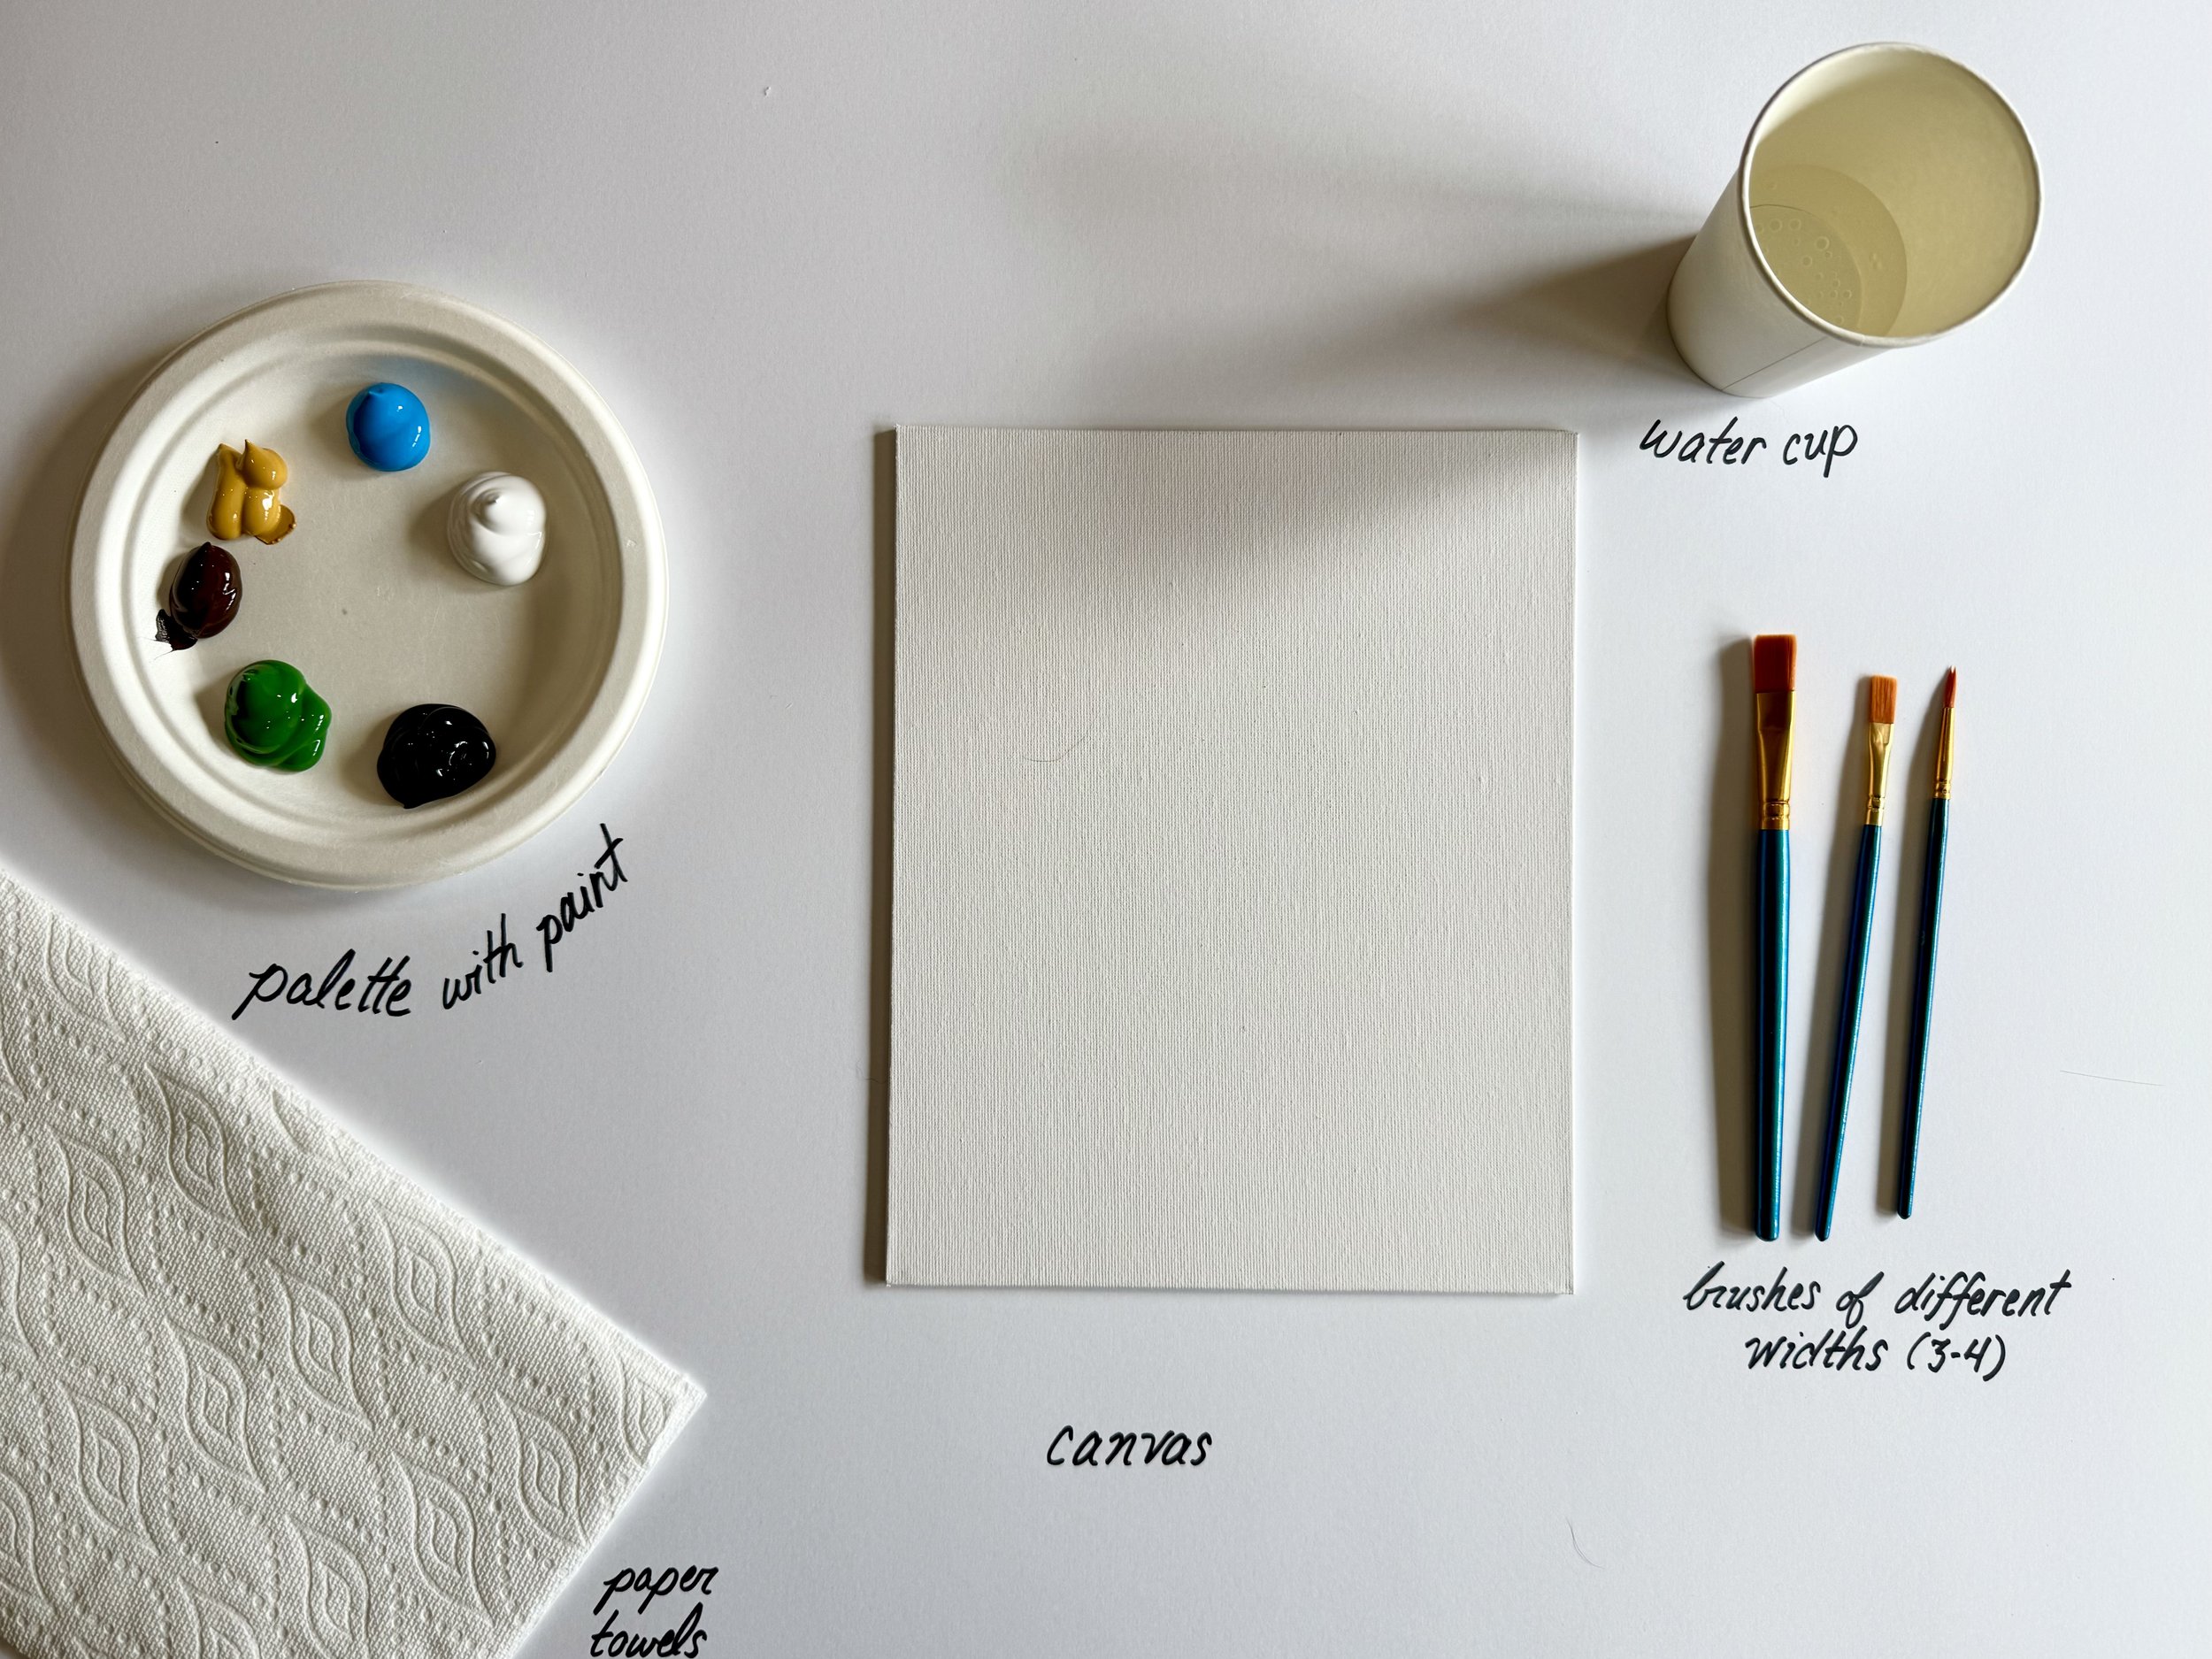
8" x 10" canvas
Primary color paints (red, blue, yellow), white, and black
Paintbrushes: Flat brush (1-inch) and a fine tip brush
Palette for mixing colors
Water cup for rinsing brushes
Paper towels or cloth for clean-up
Your creative spirit!
📌 Tips and Ideas
If you want to do a lighter color on the wood, think about doing a darker contrasting backgrouns
Step 2: Brainstorm Your Sign Idea 💡
Take a moment to think about what you want your wooden sign to say. Is it a welcoming message, a reminder of your favorite place, or something whimsical?
Ideas: "Welcome," "Cabin Vibes," "Ski Lodge," or even a personal motto!
Background: Do you have a photo of a scene from Vail? Want to keep it simple and just look like it’s in front of a sky?
Jot down your ideas, and feel free to mix and match!
The canvas isn’t HUGE because we wanted you to be able to fit it in your carry-on. I recommend 2-4 signs given the amount of space. If you are comfortable with smaller brushes and details, you can go to up to 5 (but know you’ll have to write fairly small)
Step 3: Paint Your Background Scene 🌅
Let’s create a backdrop for your sign! Depending on your chosen theme, you can paint a beautiful sky, a forest, or even a cozy ski lodge. Remember, this will just be a background so you don’t have to put too much into it. The sign will be your star.
Sky: Use a mix of blues, whites, and maybe some yellows for a sunset effect. Blend the colors using your flat brush for a smooth look.
Forest: Paint trees by using dark greens and browns. Use a fine tip brush to add details like leaves or branches.
Ski Lodge: Sketch a simple lodge shape using browns and whites. Add details like windows and snow for that cozy cabin feel.
A photo you have taken?
Get creative! You can also add elements like mountains, clouds, or snowflakes. Just remember to have fun!
If you’re painting mountains, here are a few tips:
Start from the back. Paint the furthest mountains first so it’s easier to paint over as you more to the foreground.
Have the mountains start darker in the back, then get lighter to help create the sense of depth.
Play with variations of your mountain colors. No landscape is simply one color, so get fun adding some white or black to your main colors to create “stroke” effects.
Step 4: Choose Your Sign’s Base Color 🎨
Pick a color for the background of your wooden sign. This will be the “wood” of your sign, so think about what color you want to represent!
Option 1: Light Brown (mix yellow and a tiny bit of red)
Option 2: Dark Brown (mix red, blue, and a bit of yellow)
Option 3: Go bold with a color of your choice!
Tip: If your background is dark, go light. If it’s light, go dark! This will help your sign stand out.
Apply this color evenly across your canvas using the flat brush. Don’t worry about being perfect! Just have fun!
Step 5: Add Knots and Grain 🌰
Let’s make it look like real wood! With a slightly darker shade (add a bit of black to your base color), use your fine tip brush to create small circles (knots) and some squiggly lines (grain).
Tip: Don’t stress about being too neat; natural wood has its quirks!
Step 7: Paint Your Text! ✍️
What will your sign say? Using your brainstormed ideas, choose a phrase that resonates with you!
Here are a few local towns and sights if you would like some inspiration:
Vail
Breckenridge
Frisco
Silverthorne
Aspen
Hot Springs
Ski Slope
Step 8: Add the Finishing Touches 🎉
Now let’s make that text pop! Choose a contrasting color (like white or bright red) and carefully paint over your letters with the fine tip brush.
Tip: For a rustic touch, consider a slightly uneven application. It adds charm!
Step 9: Final Details 🌈
Step back and admire your work! Want to jazz it up? Add small decorations like flowers, snowflakes, or other elements around your text.
Tip: Keep it simple—less is more!


