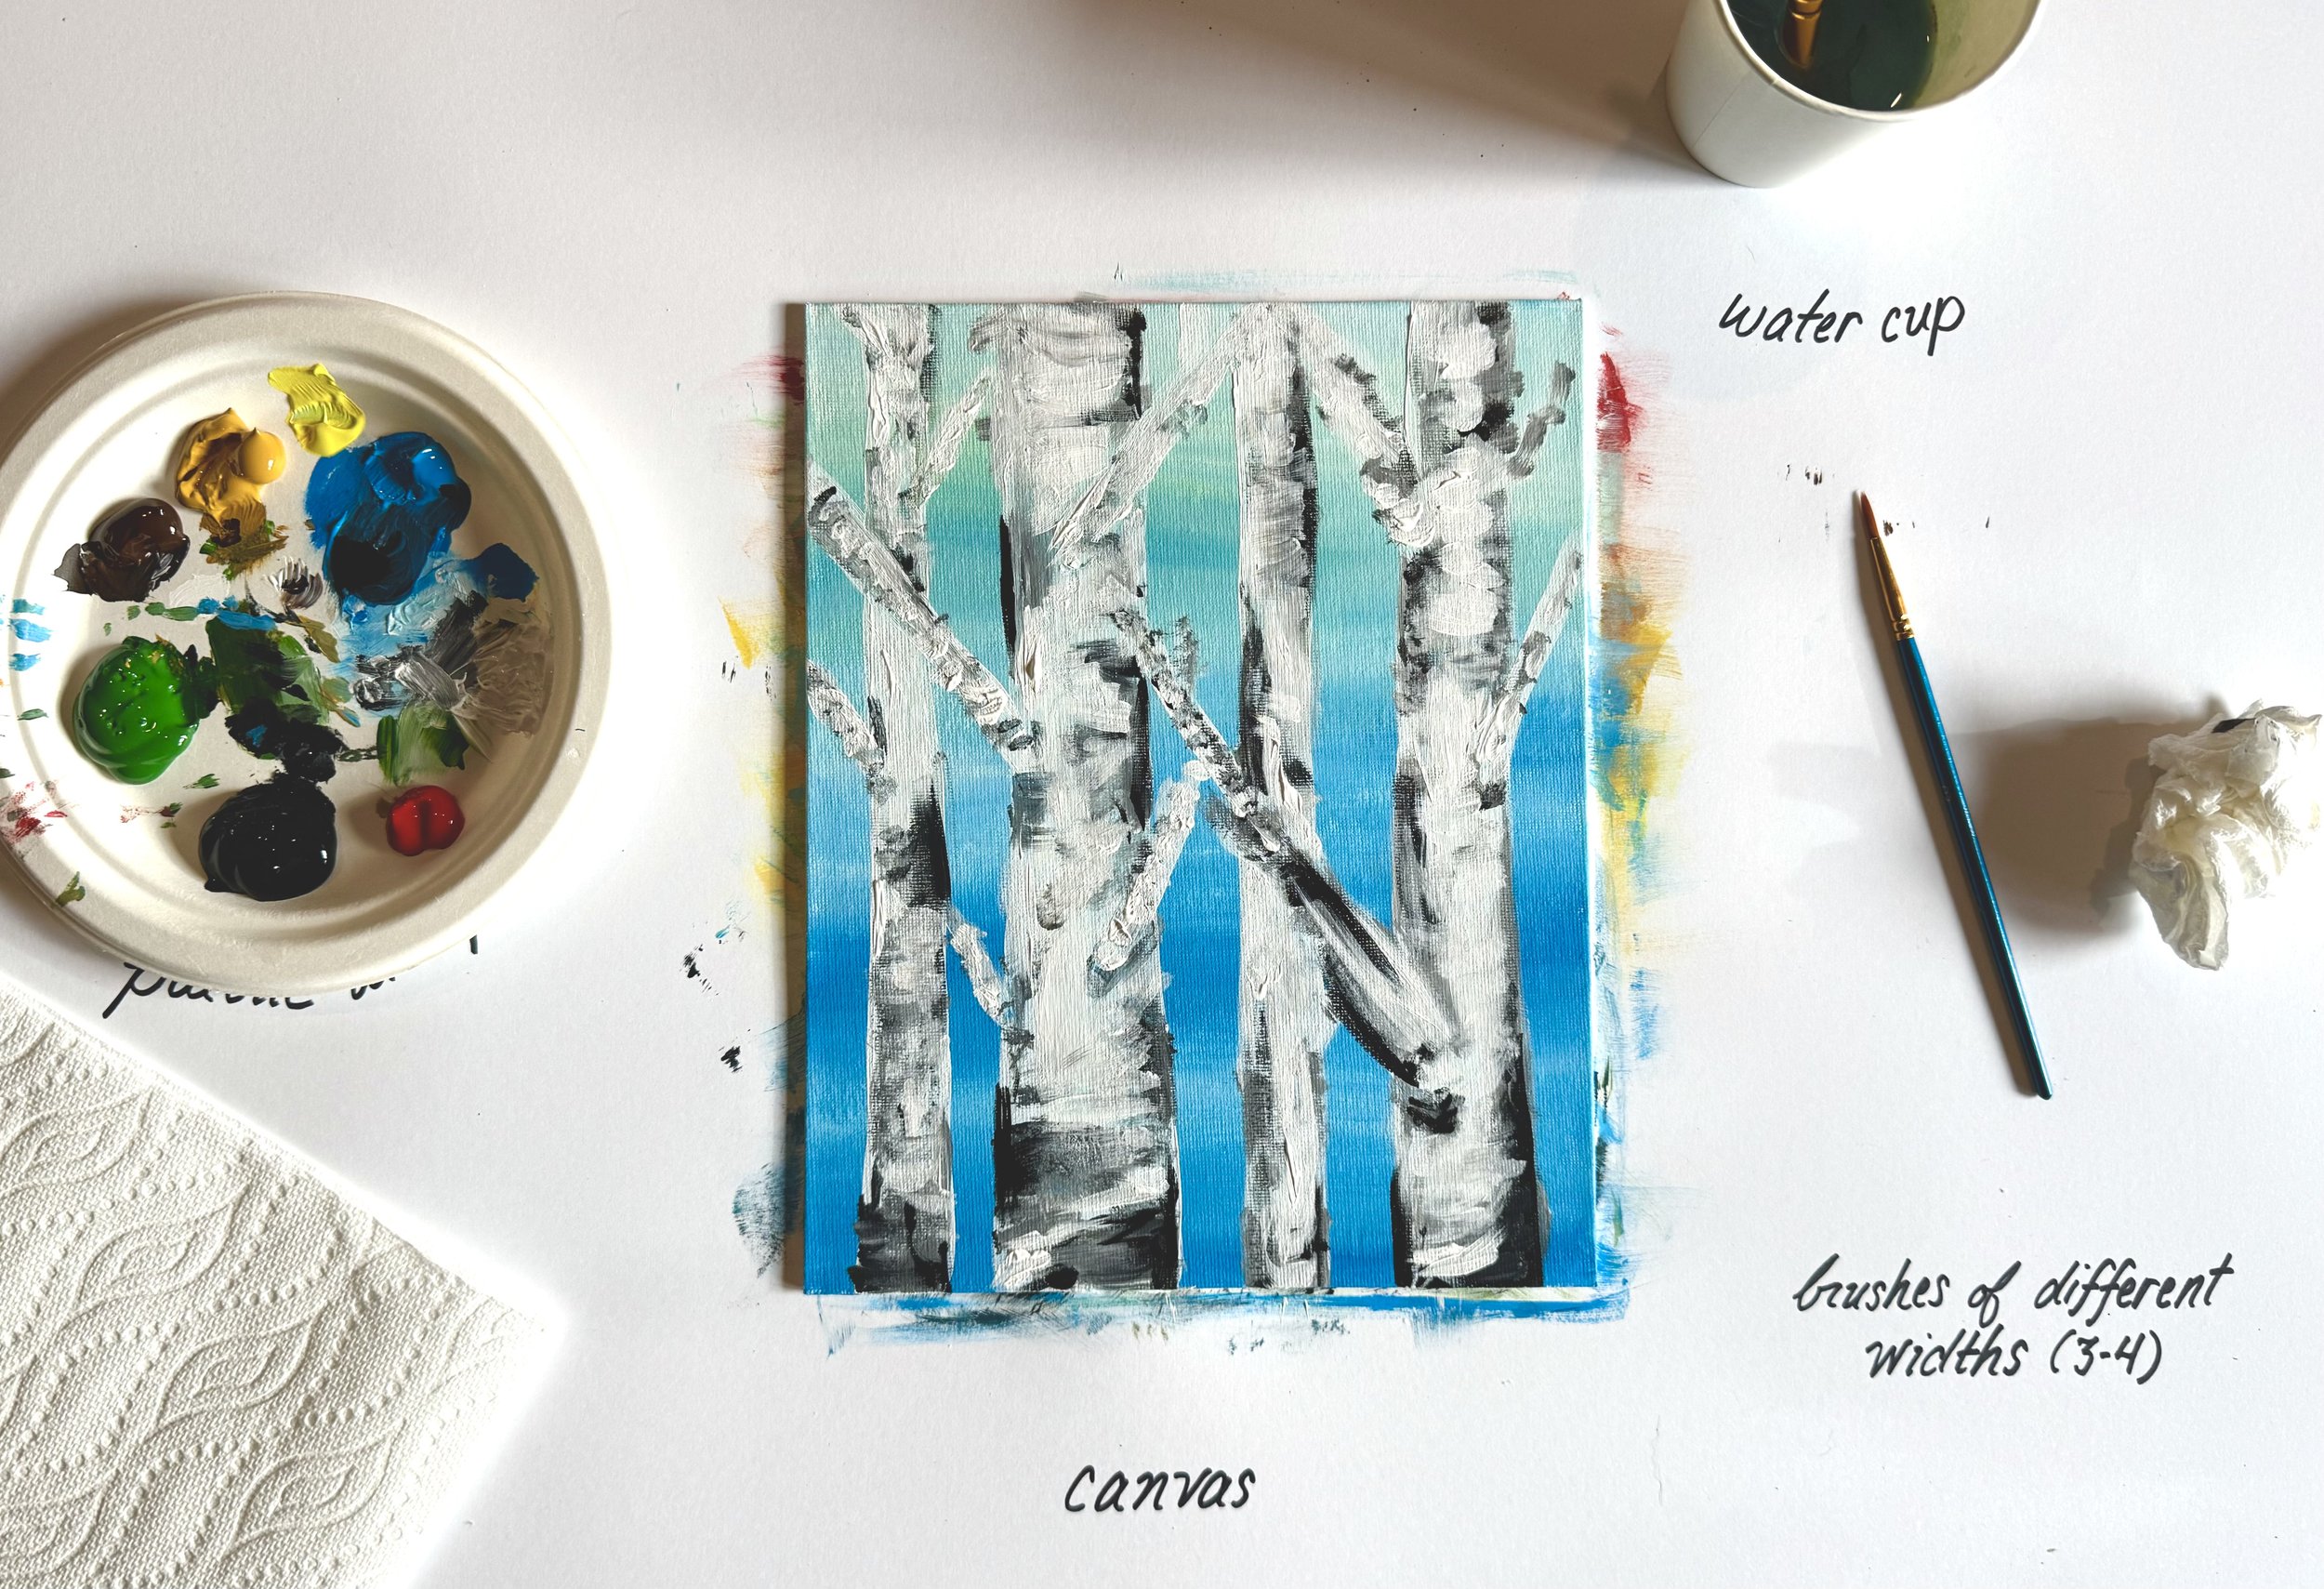
Aspen Trees
Aspen Trees
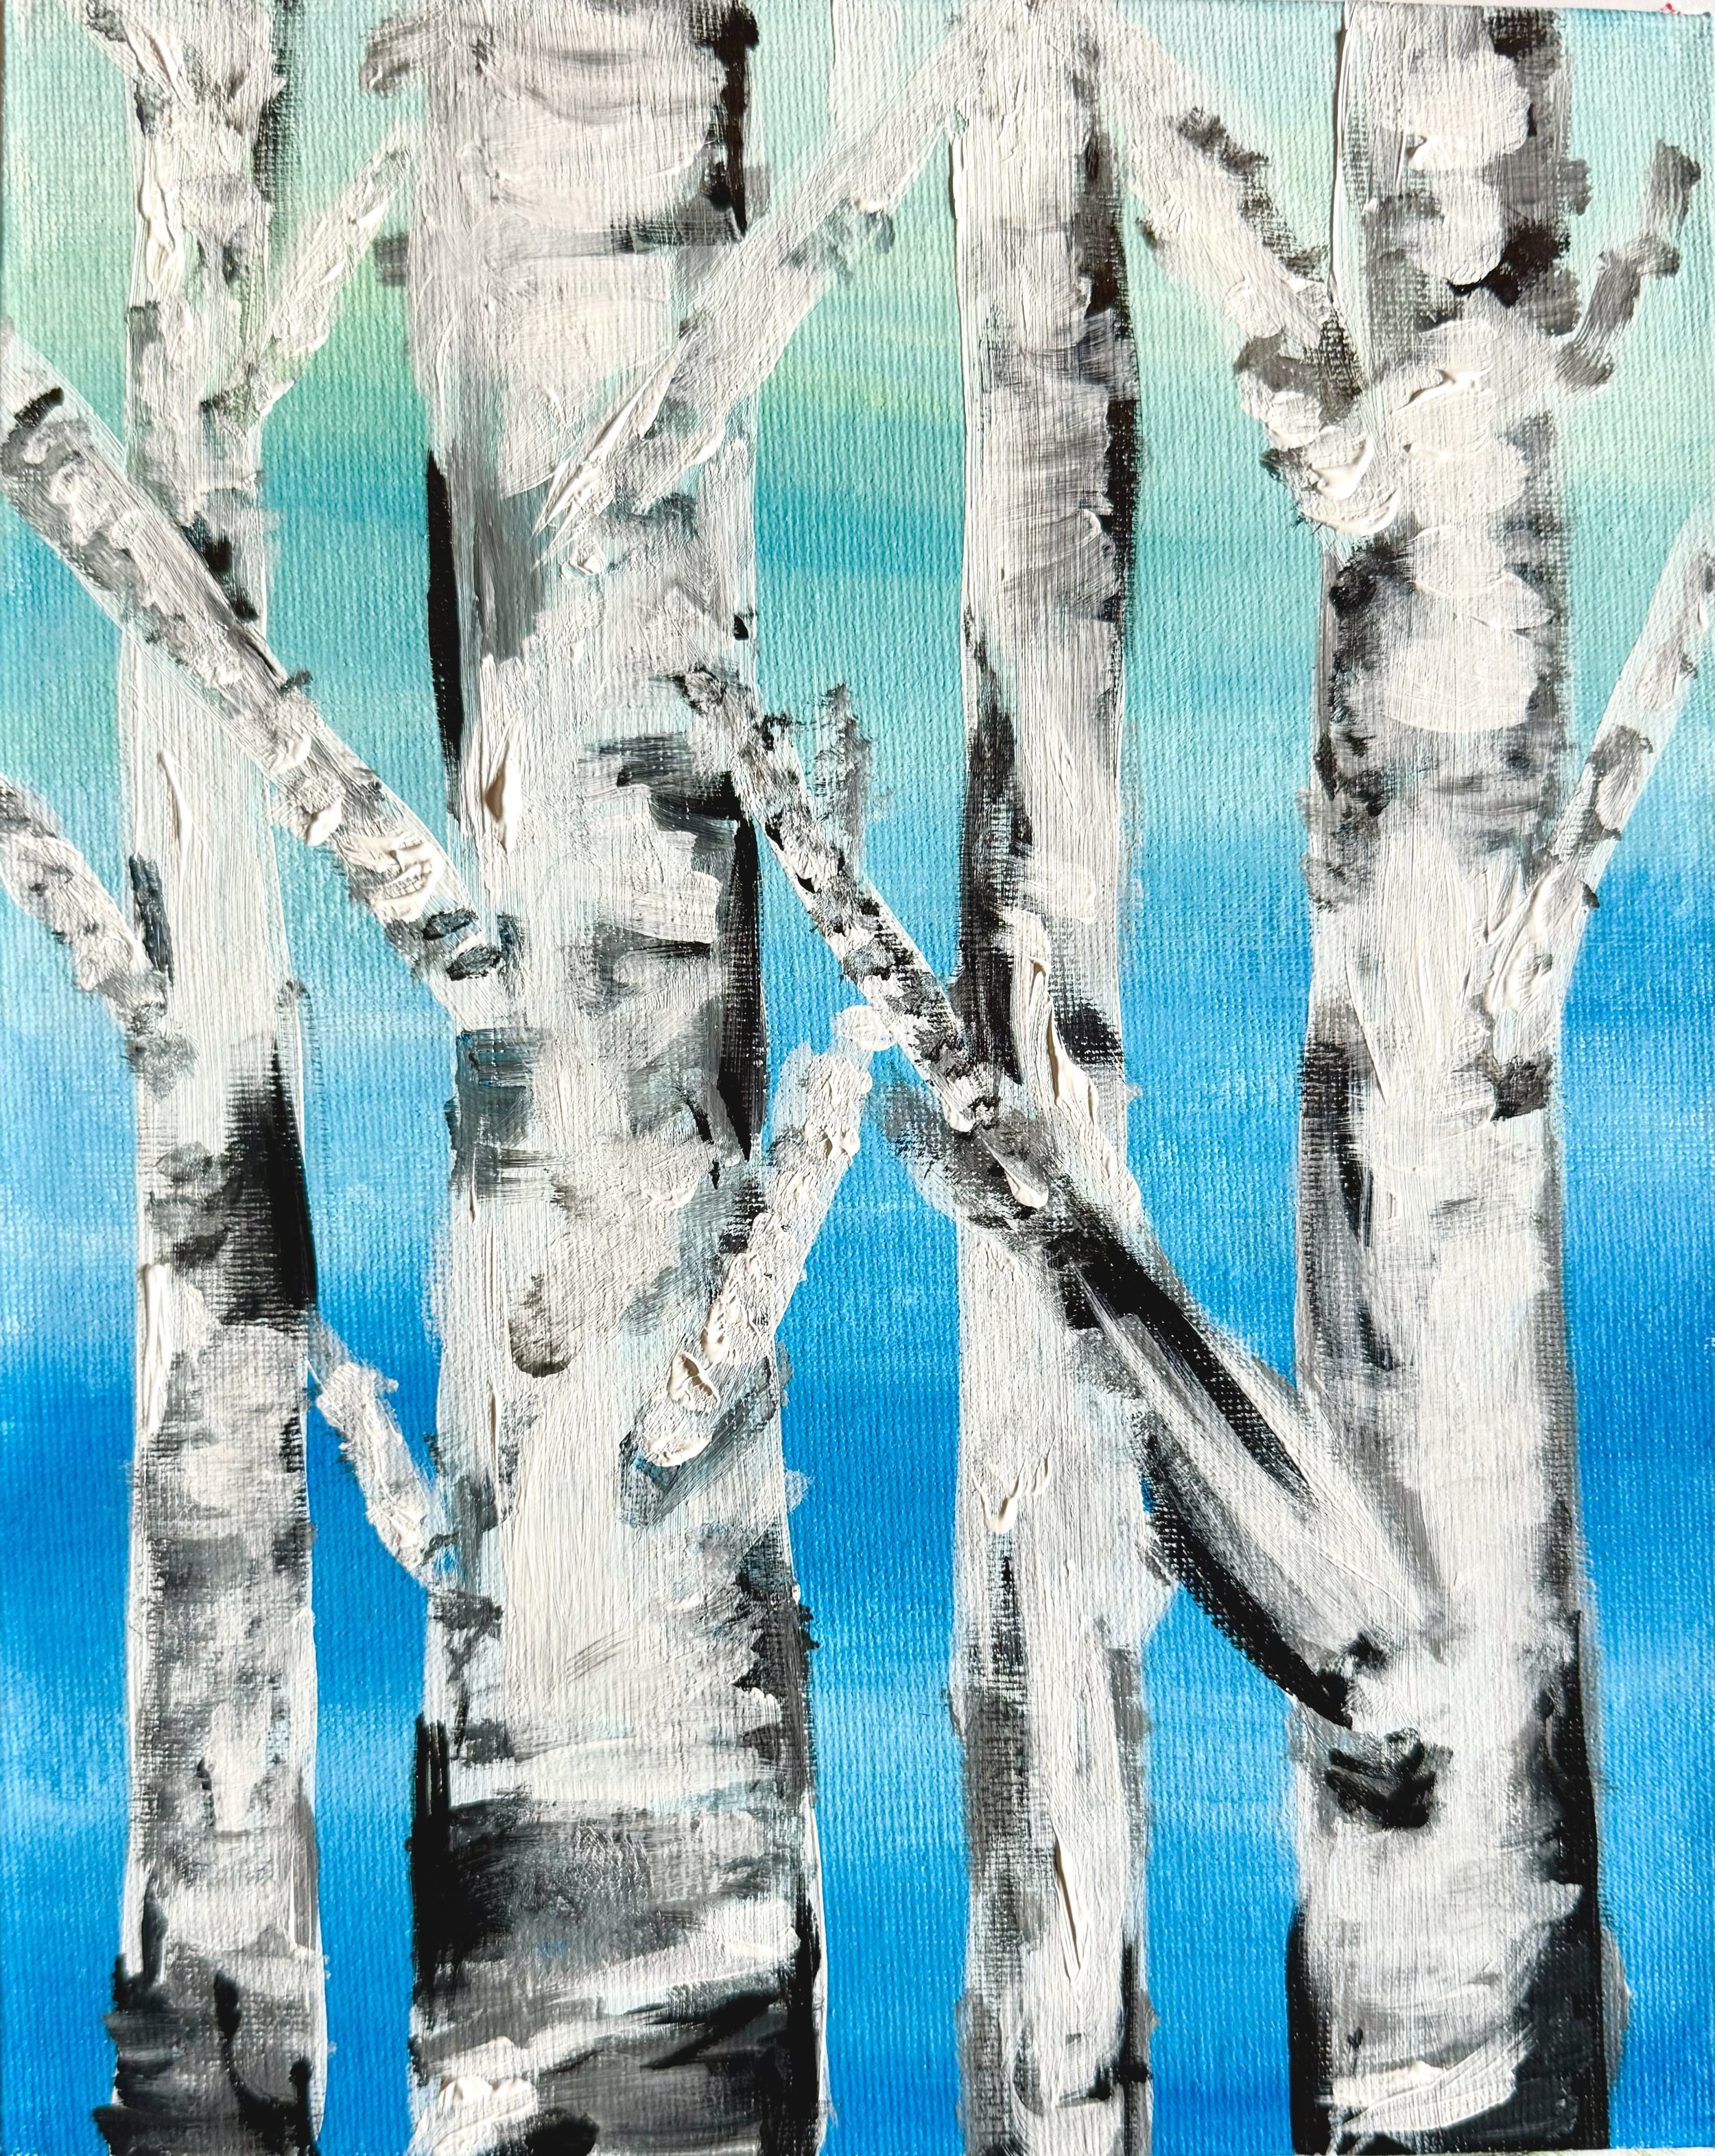
Don’t be intimidated by the look of this painting! Painting aspen trees is a bit simpler than it looks, which makes it a fun and impressive painting for a class like this.
This is one of the more advanced designs since it does involve some focus on your brush strokes, but this look is achievable and nods to the Vail valley without being too “touristy”.
High-level Steps
Paint a background color and/or less-detailed landscape. I chose to go abstract with mine so the trees are the stars of my piece.
Use white paint to paint your tree trunks and limbs. I recommend not doing too many, 3-6. These need to be of varying thickness.
Add light gray horizontal strokes on the outer parts of the trunks and limbs.
Add black horizontal strokes to really make the “shadows” pop.
Ad finishing touches and details as you wish.
See below for some inspo I pulled from Google images 👇
Step 1: Get Materials
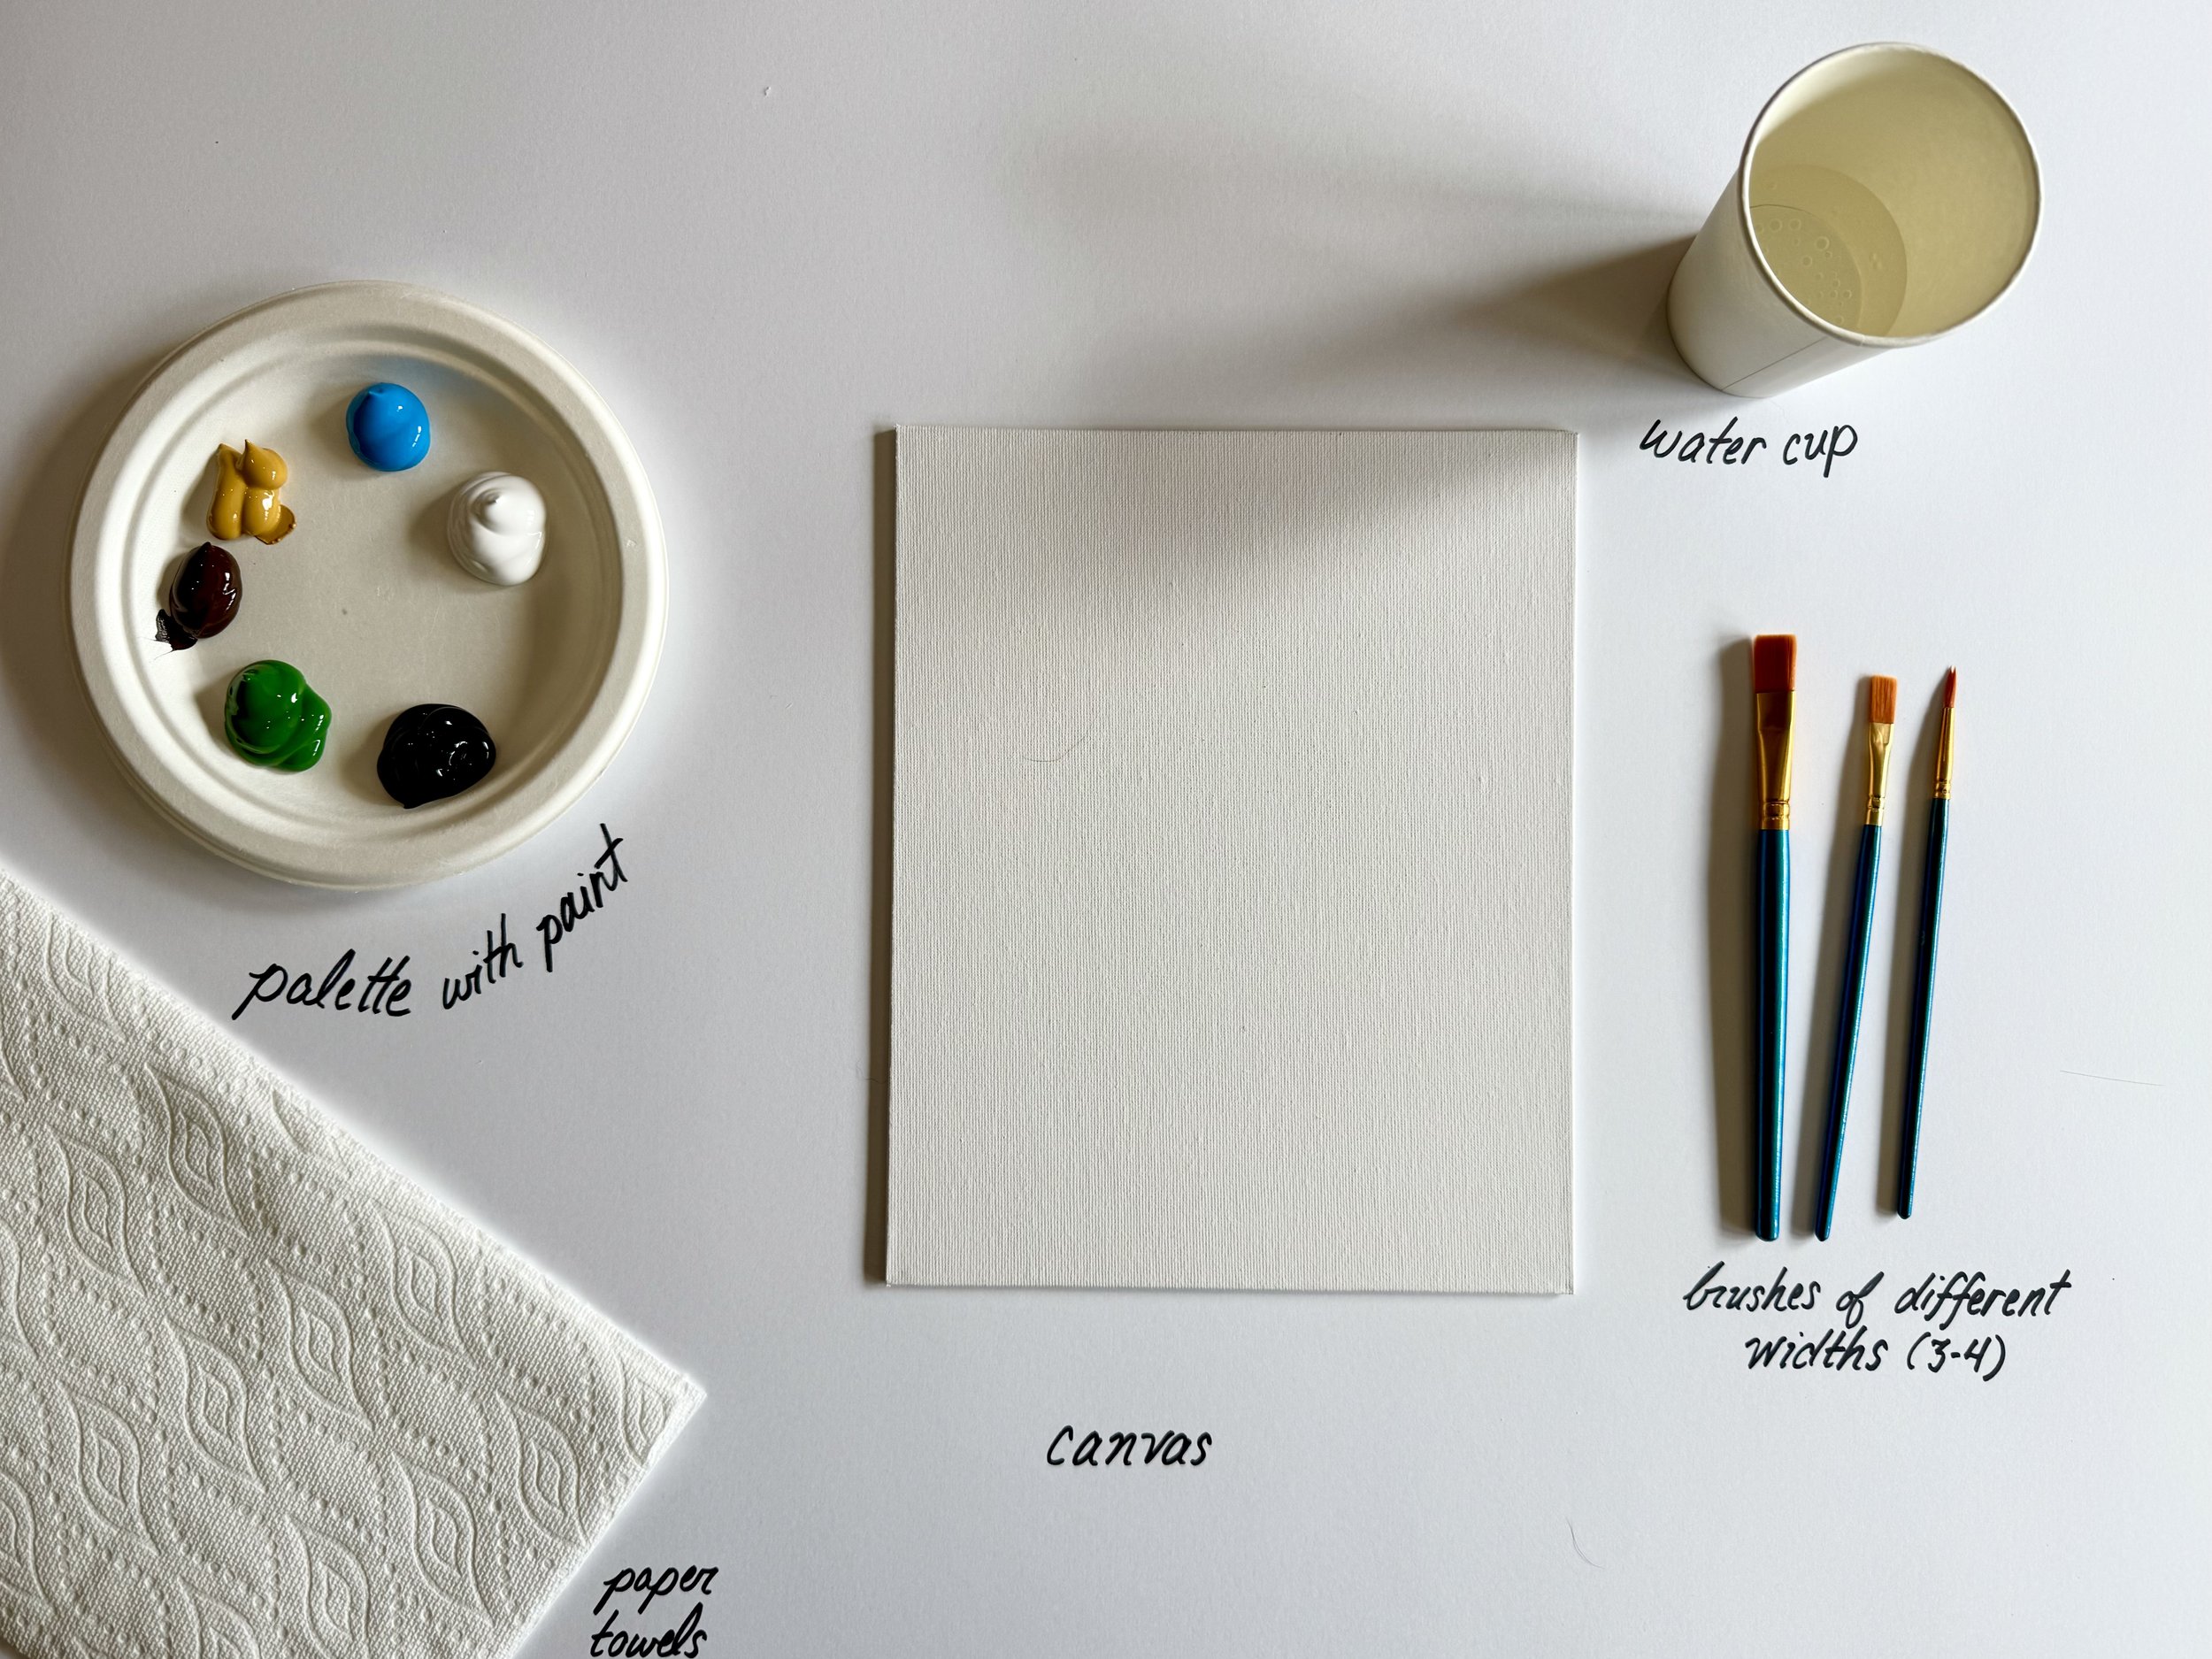
What You'll Need:
8" x 10" canvas
Primary color paints (blue, white, black, green)
Paintbrushes: Flat brush (1-inch) and fine tip brush
Palette for mixing colors
Water cup for rinsing brushes
Paper towels or cloth for clean-up
Your creative spirit!
Step 2: Create the Background Sky 🌈
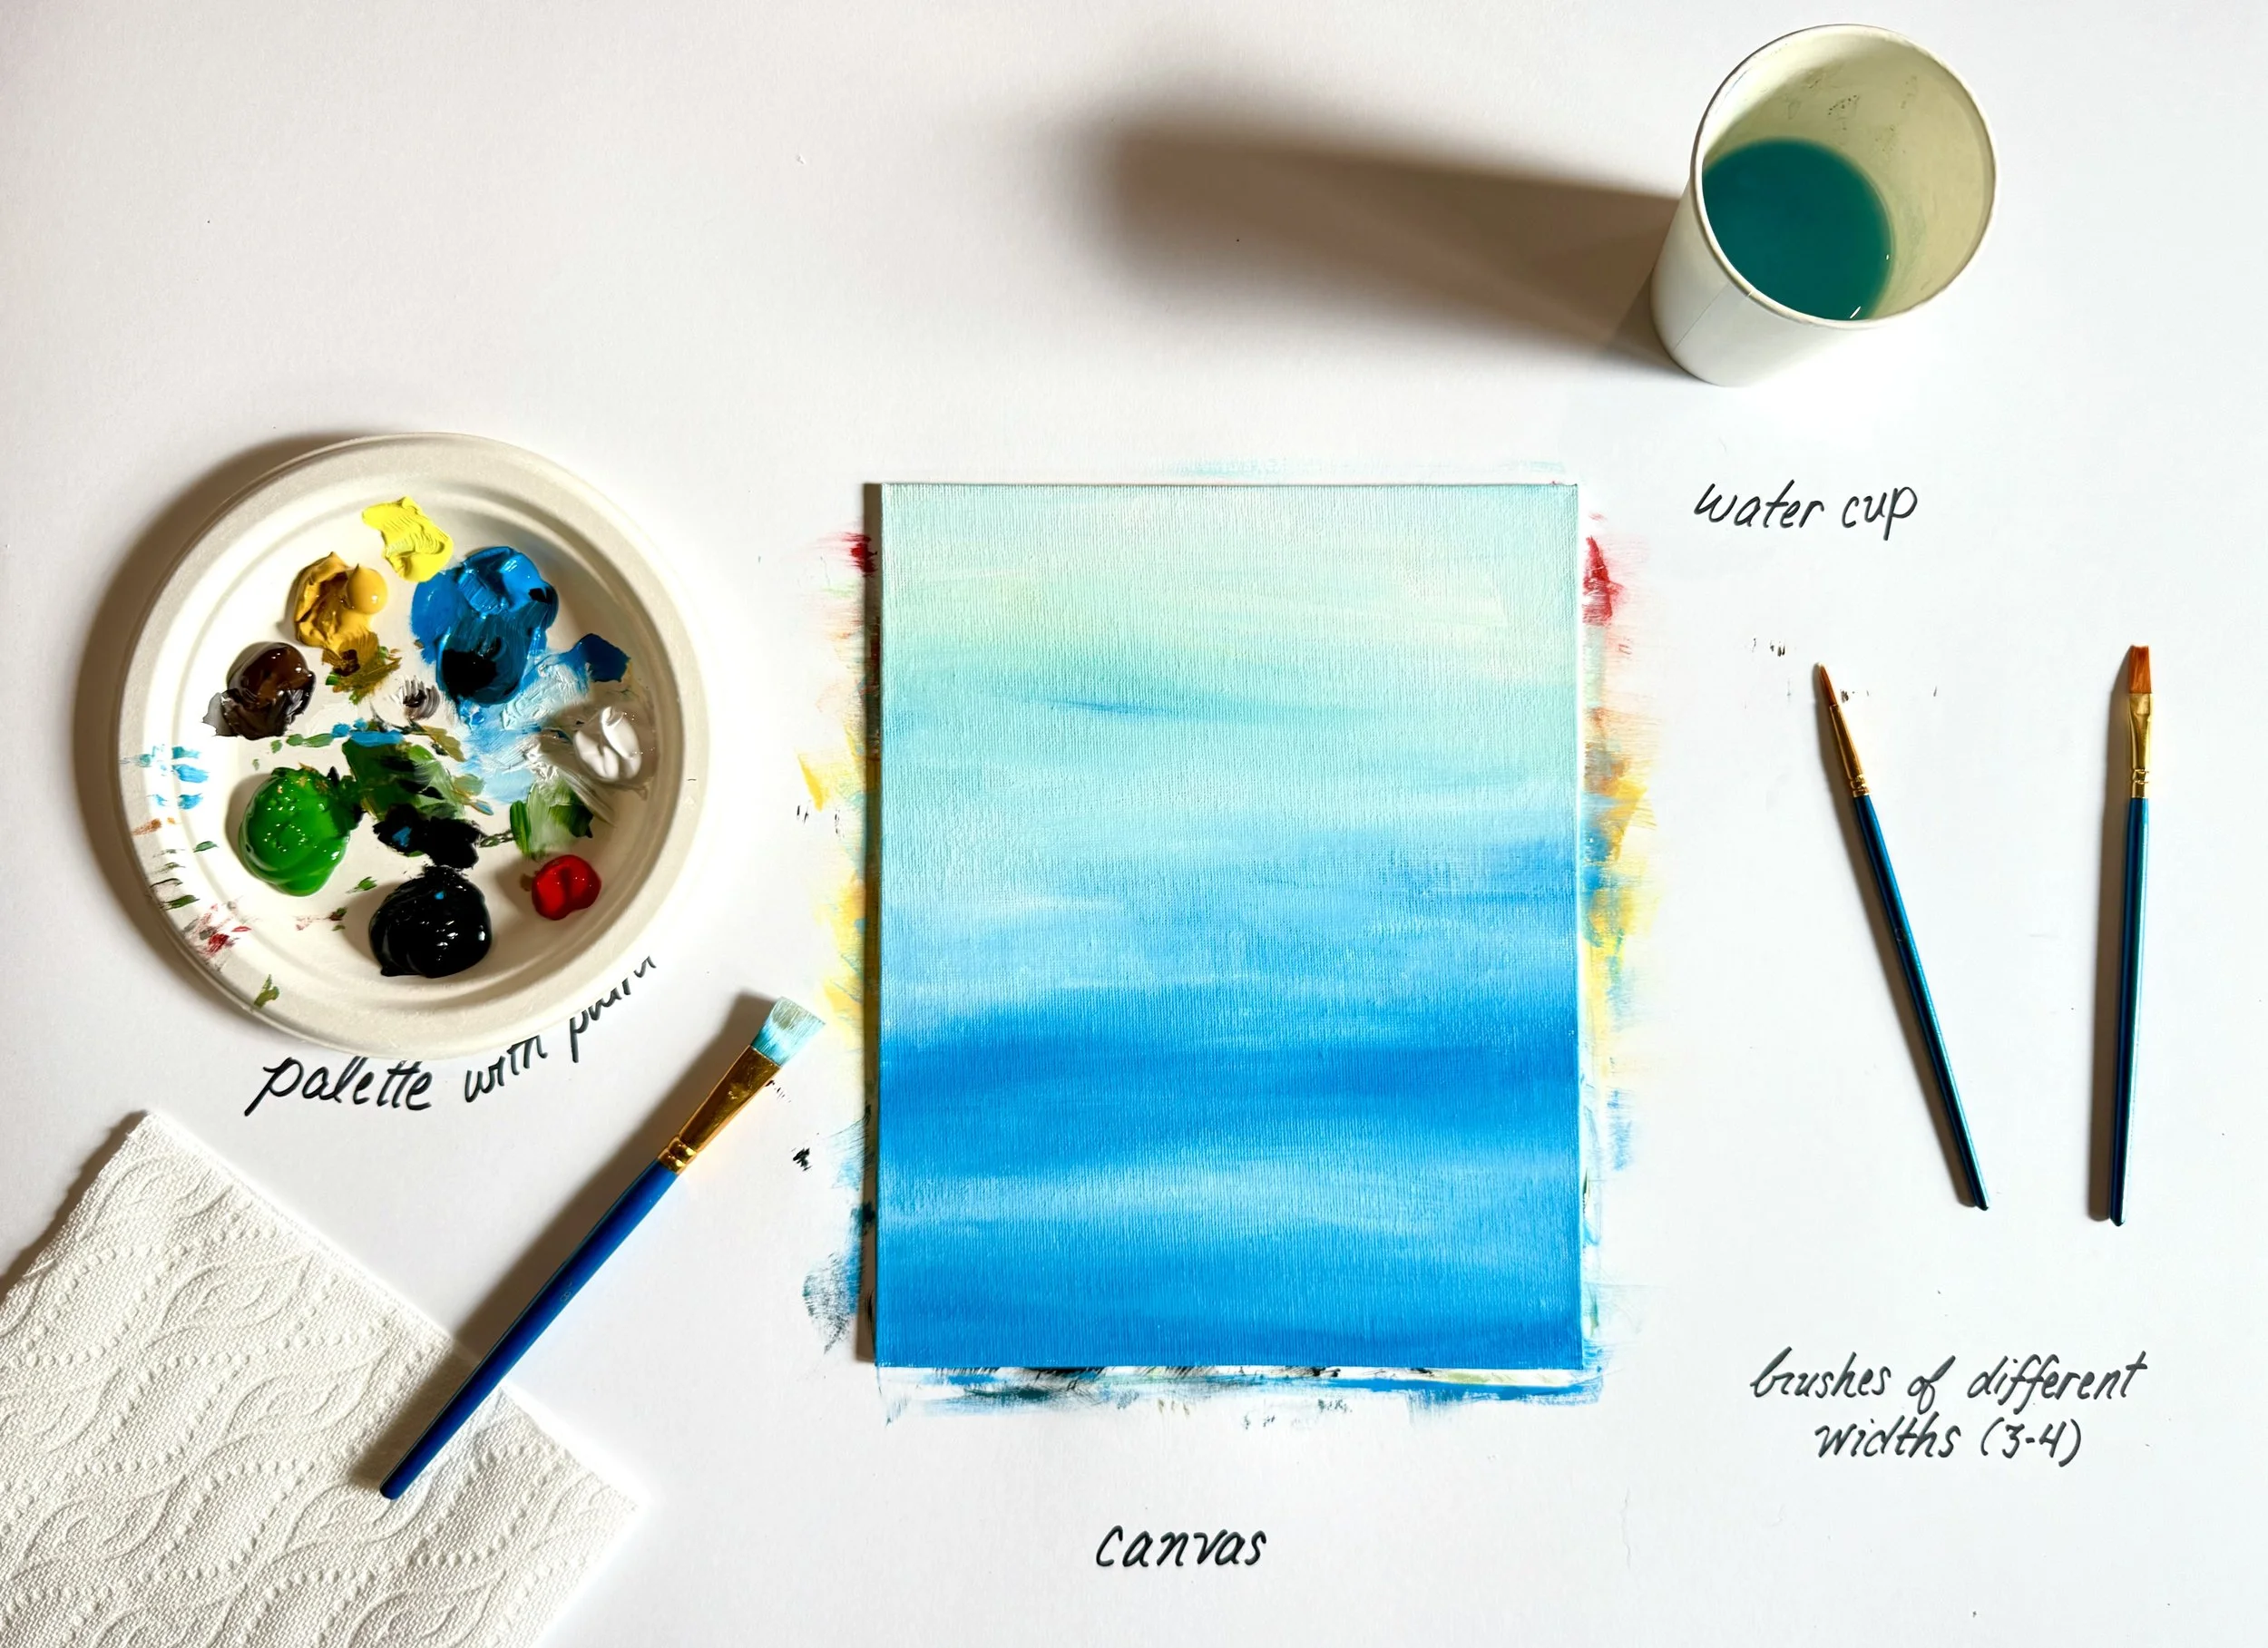
Start by painting the background to set the mood for your aspen trees. You can create a serene sky using shades of blue and green.
Apply Base Color: Use your flat brush to paint the top half of your canvas with a gradient of blues and greens. Start with a darker blue at the top, blending down into a lighter blue and green as you move down the canvas.
Tip: The air at this altitude is very dry so paint dries quickly. If you want to achieve a more blended look, work fast OR pull some water from your water cup to help ensure moisture over the canvas.
Step 3: Sketch Your Aspen Trees 🌲
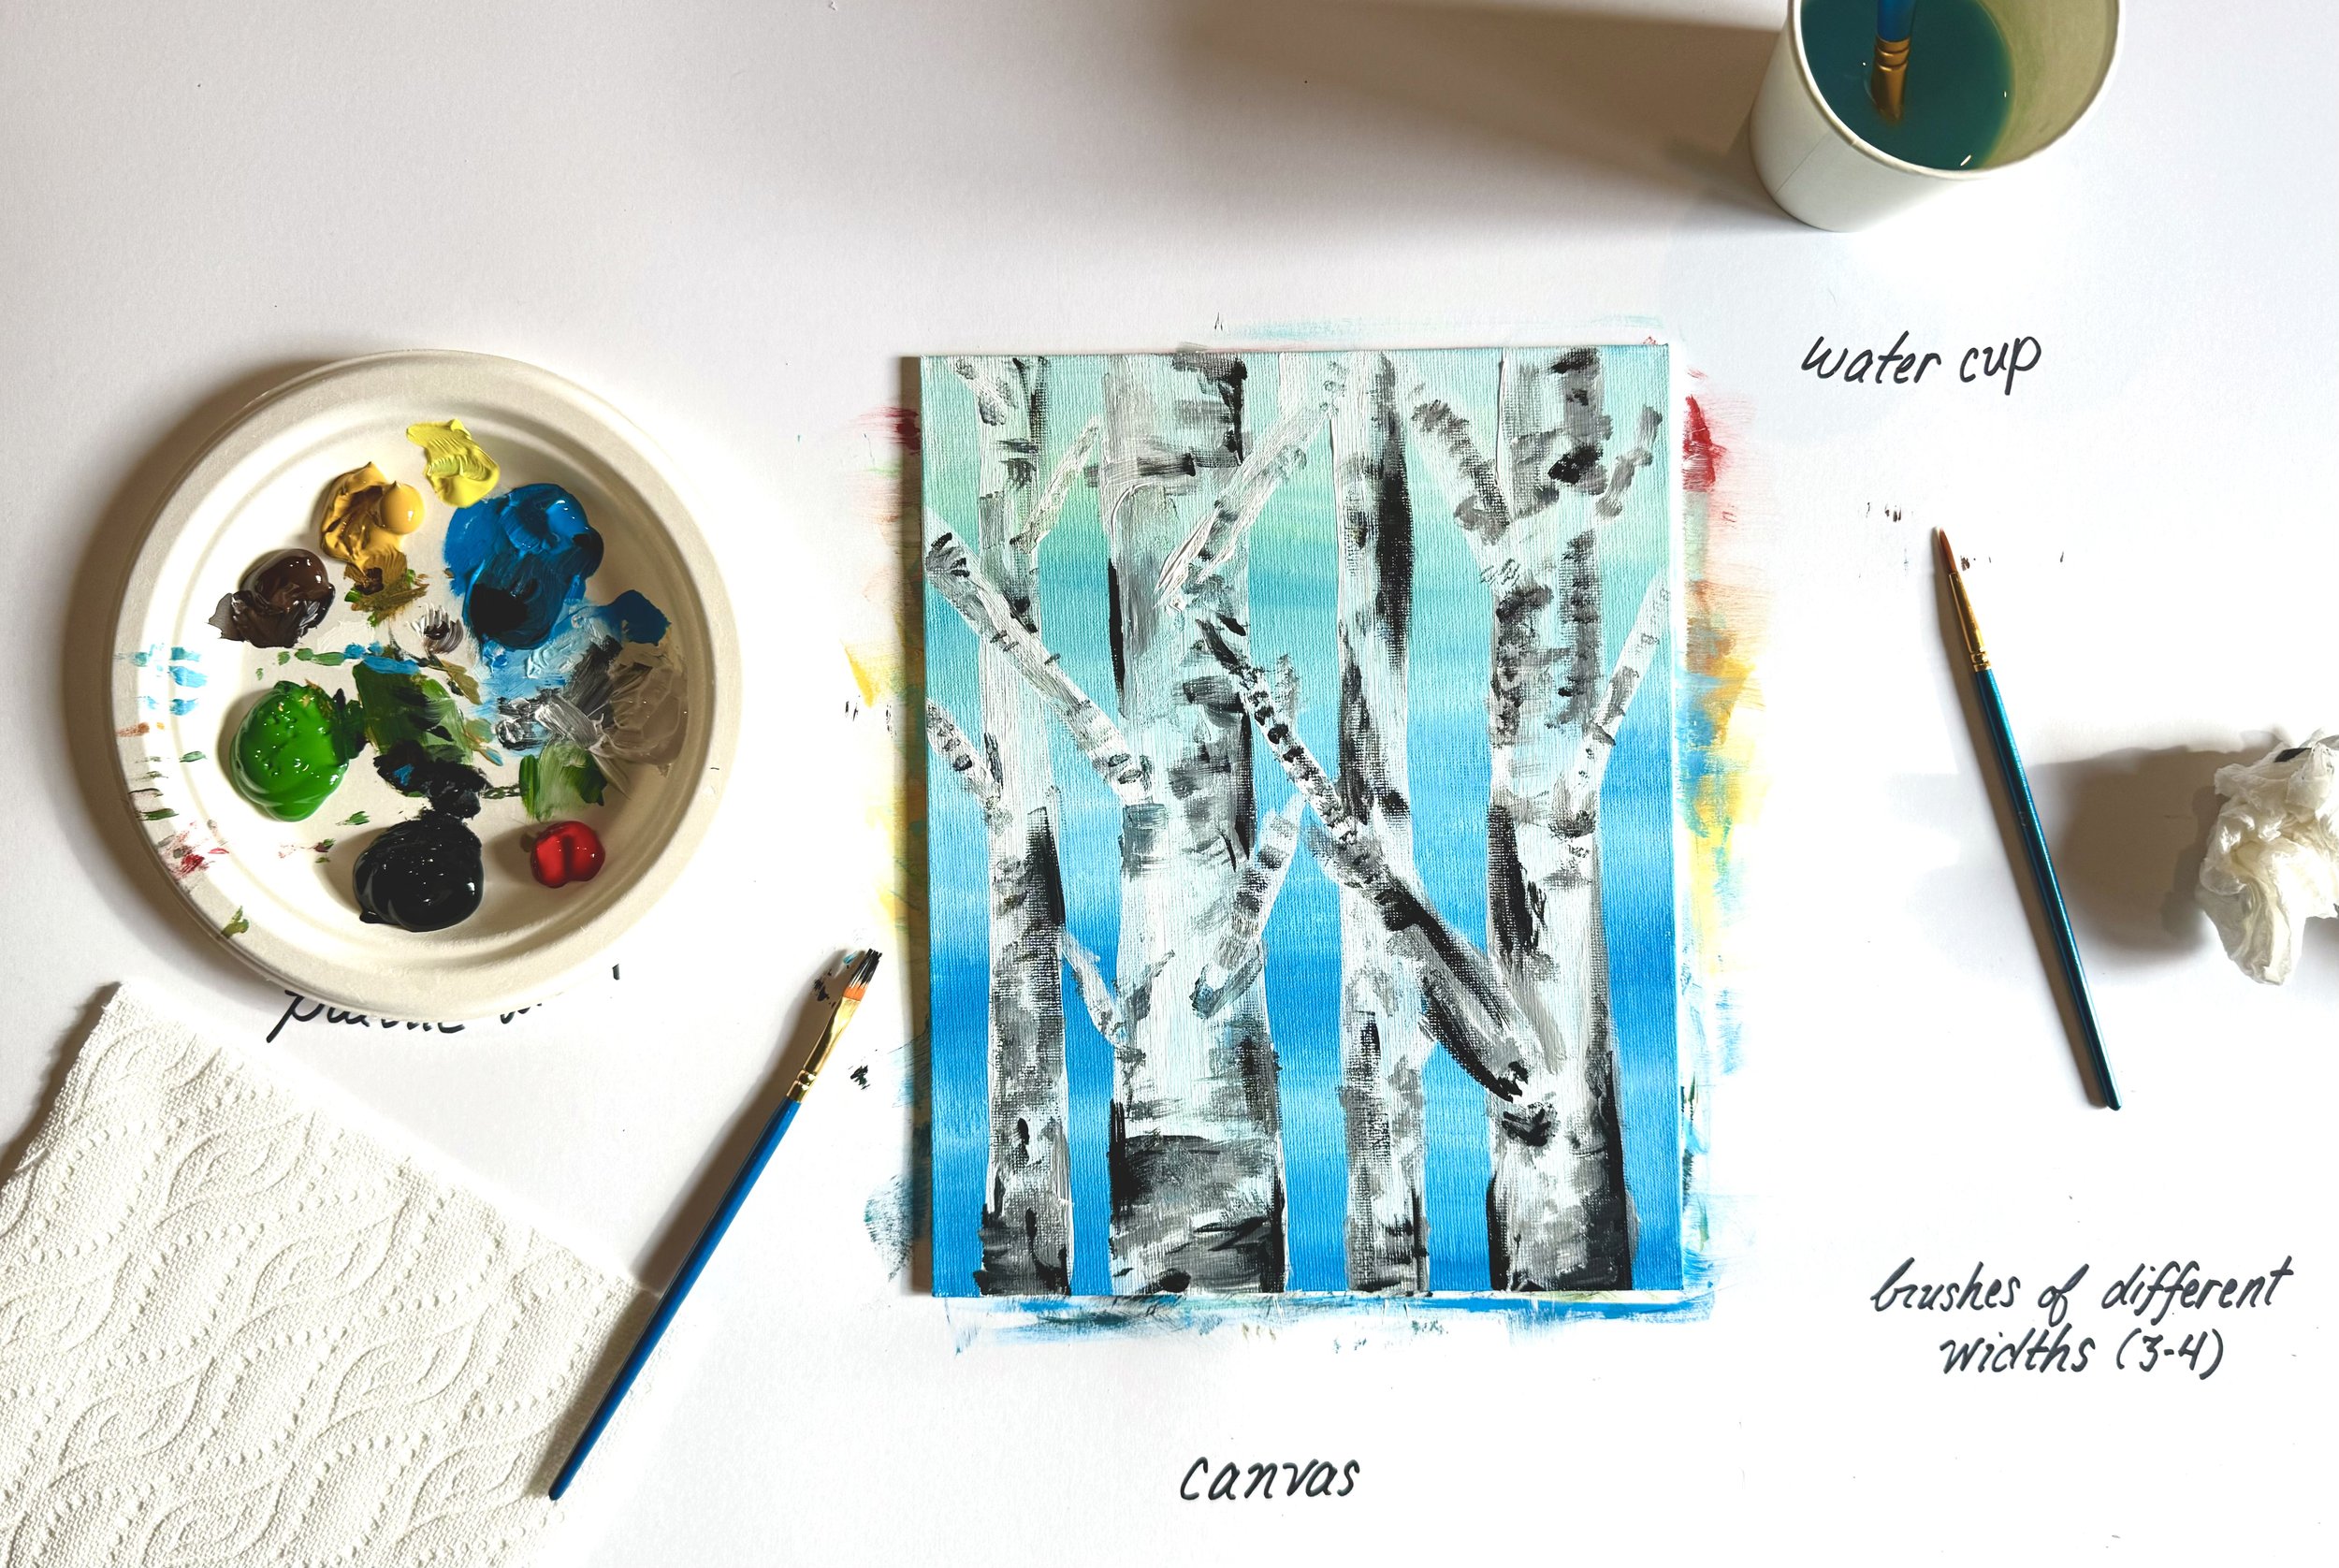
Now, it’s time to add the aspen trees! Using a fine tip brush and white paint, sketch the outlines of the trees.
Tree Shape: Paint vertical lines to represent the trunks, varying their thickness. Don’t worry about making them perfectly straight; natural trees have character!
Tip: I personally liked having some of the trunks VERY thick white and some with my background almost “reflecting” through the white. You can play with this as well. And remember - you can always add more white in the future if you want the white to really pop.
Step 4: Fill in the Tree Trunks 🌳
Once the tree shapes are done, use the flat brush to fill in the trunks with a mix of white, gray, and black. Start with the tree trunks, then work on the branches.
Color layering: Start with a light gray on your brush to create the medium texture and depth. Then add black to really make them pop.
Texture: Add texture by making quick, horizontal strokes with your brush. Aspen bark runs perpendicular to the limb/trunk. Use this rule to really help your braches stand out from the trunks.
Make is scratchy: Don’t stress about being too neat; natural wood has its quirks!
“Shadow” depth:
To keep it simple, imagine the light source is staight-on. Leave white in the middle of the tree trunks, and where the tree gets rounded on the outside, add your depth.
Black will often be in a smaller, outside portion where there is gray, just like how shadows work.
Trees further in the back will be darker, meaning they’ll have more gray and black than the ones in the front.
Step 6: Create the Details 🌟
Enhance your trees by adding small details:
Aspen Characteristics: Use black paint to add the signature black dots or markings on the white trunks, which are typical of aspen trees.
Leaves (Optional): If you want, you can add some green leaves using a fine tip brush. Paint small clusters near the top of the trees.
I opted to add more white to really help the trees pop (and also fix some of my rogues paint strokes).
Step 9: Final Touches ✨
Step back and admire your painting! Consider adding small details in the background or foreground for added interest.
Tip: You can sprinkle some white paint to mimic snow on the trees or stars in the sky if you feel inspired.


